The recipe I selected for Thursday's dinner was really more of a guideline. I knew I had some more chicken to cook and searched epicurious.com for ideas and found this recipe for Spanish Style Chicken. I used the same ingredients but in a different manner, making decisions as a cook to attempt to make the best meal out of the ingredients at hand. I also reduced the recipe from 8 servings to about 3. And engaged in other assorted aberrant behavior.
Ingrdients
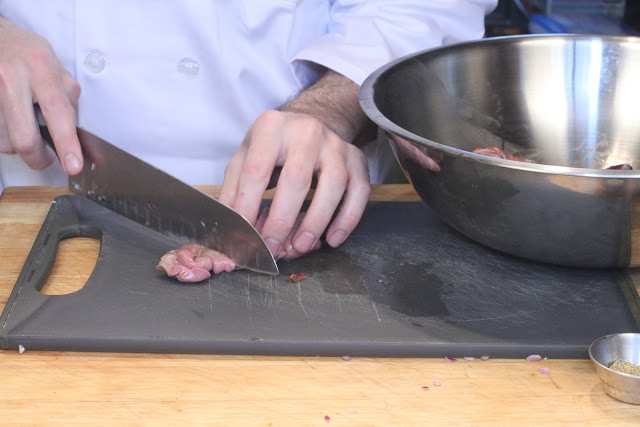
1 (3 1/2- to 4-lb) chicken, cut into 8 serving pieces - I used two large breasts cut into bite-sized pieces
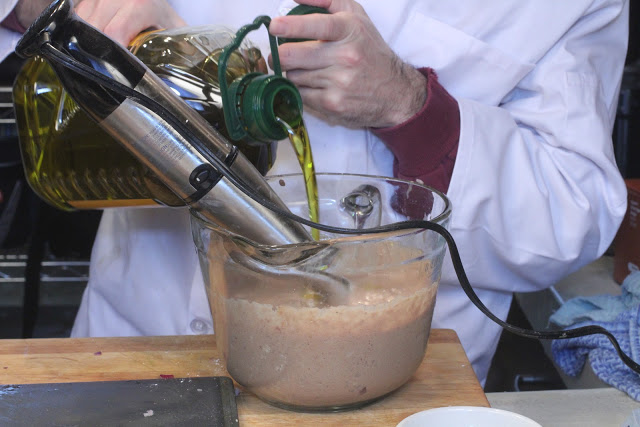
1 tablespoon olive oil
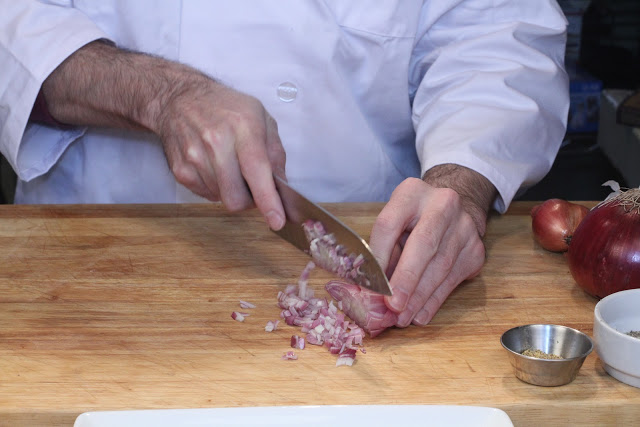
1 large onion, chopped - I substituted shallot
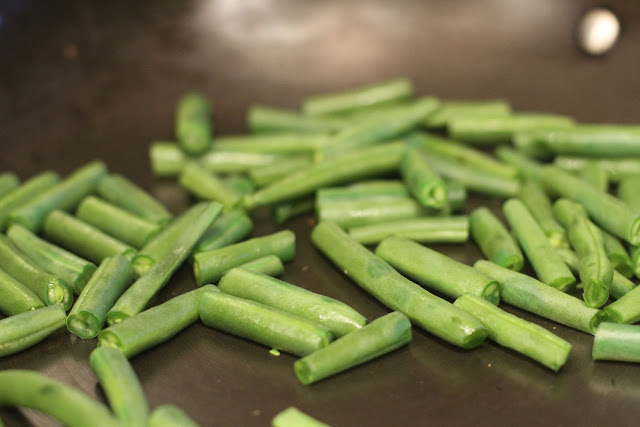
1 large red bell pepper, cut into 1/2-inch pieces - I substituted small sweet peppers, diced
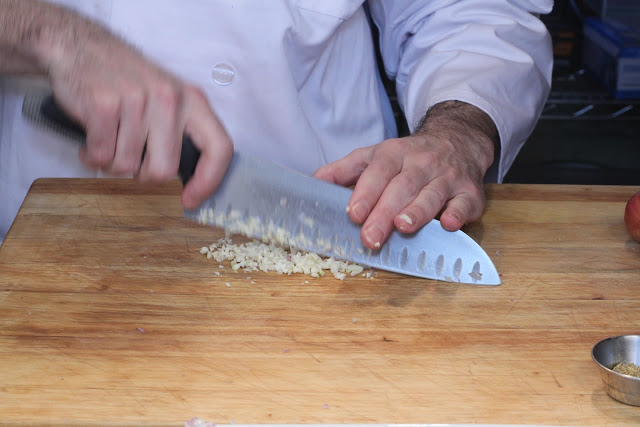
4 garlic cloves, minced
2 teaspoons paprika
2 cups long-grain white rice
1 1/4 cups dry white wine - I cut this way back, even in my reduced proportion
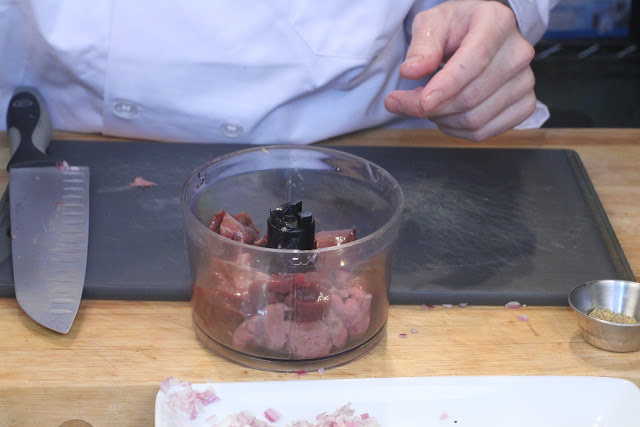
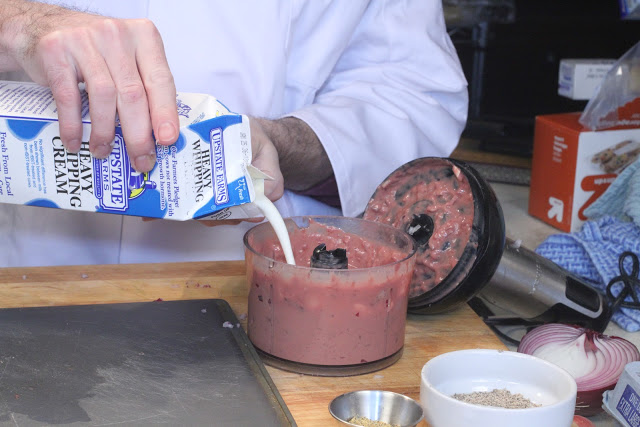
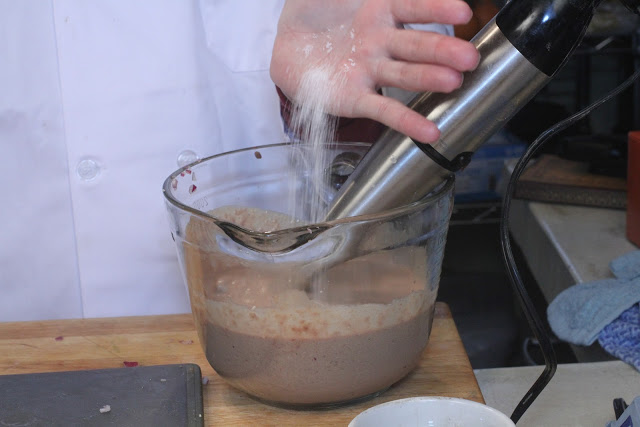
1 (14-oz) can diced tomatoes including juice - I used fresh cherry tomatoes which I pureed with the immersion blender
1 3/4 cups chicken broth
3/4 teaspoon crumbled saffron threads
1 bay leaf (not California)
1 cup frozen peas (not thawed)
1/2 cup pimiento-stuffed green olives, coarsely chopped - I used the Spanish olives Gareth gets from Wegmans
Pat chicken dry and season with salt and pepper. Heat oil in a 12-inch heavy skillet (at least 2 inches deep) over moderately high heat until hot but not smoking, then brown chicken on all sides, about 12 minutes total. Transfer chicken with tongs to a plate.
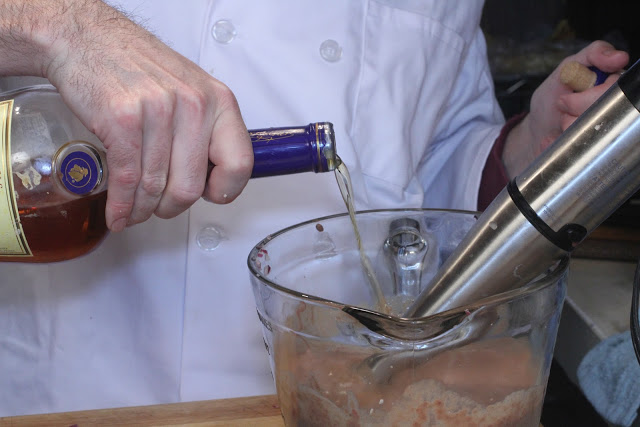
Pour off all but 2 tablespoons fat from skillet and add onion, bell pepper, and salt to taste. Cook over moderate heat, stirring, until softened, about 7 minutes. OK, here's where I deviated. I added the wine at this point, using it to deglazed the pan. I have always considered this an Advanced Cooking Technique, but it was actually quite easy. I turned down the heat a little and let the alcohol cook off the wine, then added the shallot and peppers as instructed.
NOTE: I thought this was very chefy and was quite pleased with myself. When I told my counterpart of this great leap forward in my culinary skills, he looked horrified and said, "You cooked your veg in the glace from the pan?" Apparently, you should cook your veg in a separate pan and when you deglaze your meat pan, you add the glace to your sauce at the end. But, still, this is pretty far removed from the "Cut towards your chum, not towards your thumb" cooking advice I usually need.
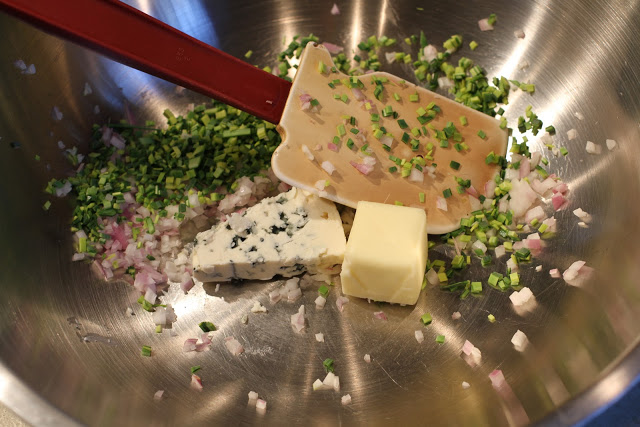
Add garlic, paprika, and rice, then cook, stirring, 1 minute. Add wine and boil, uncovered, 2 minutes. Stir in tomatoes with juice, chicken broth, saffron, and bay leaf. More deviance on my part. I decided to cook the rice separately. I did add the other ingredients (except the wine, which was added in the previous step). And I did use real saffron. We have some in the house, and I used it. But just a little. Making this the most expensive meal I have ever cooked, removing the grilled brie and Gorgonzola sandwich I cooked in goat butter a few months back out of the title position.
Nestle chicken in rice, adding any juices from plate. At this point, I just added my chicken pieces.
Cook, covered, over low heat until chicken is cooked through, rice is tender, and most of liquid is absorbed, about 15 minutes. I did let it all simmer uncovered until the sauce cooked down a bit - about 7-10 minutes. I also tasted it during this time and decided it needed a dash of cumin and a little more salt.
Remove from heat and stir in peas, olives, and salt and pepper to taste. Cover skillet and let stand 10 minutes. Discard bay leaf. I did this but lost track of time. When I came back, my peas were wilted.
Overall, I got points for the light, tangy, flavorful sauce and the olives but demerits for the sad little peas. They didn't really taste quite right in the sauce. My counterpart suggests using a mix of carrot and celeriac cut into matchsticks for the veg and to serve on a small bed of cooked cabbage with bread instead of rice.
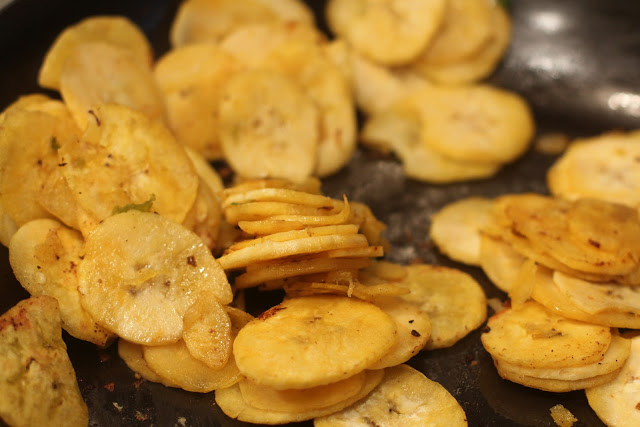
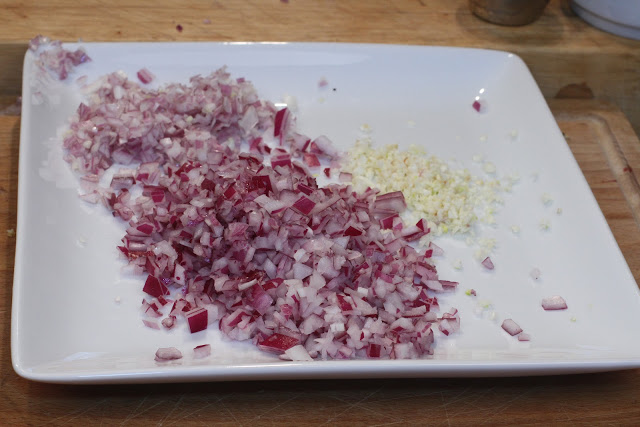
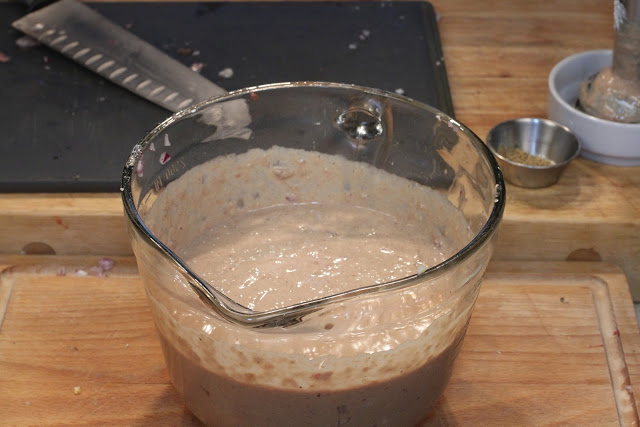
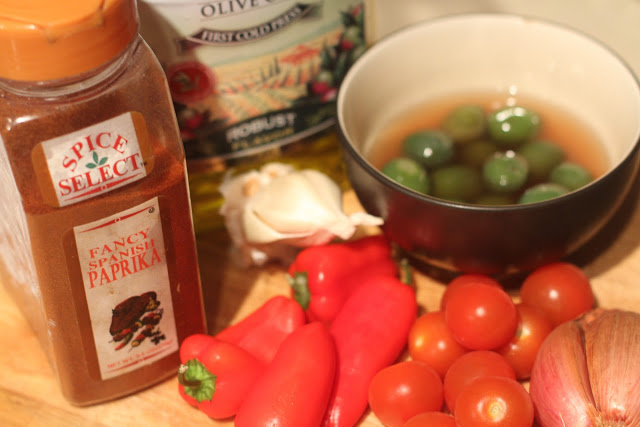 |
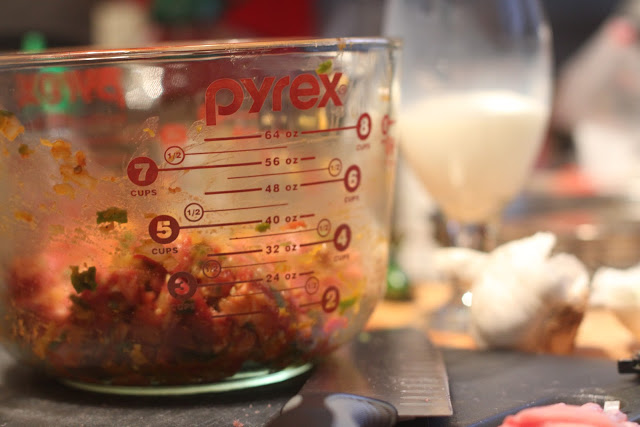
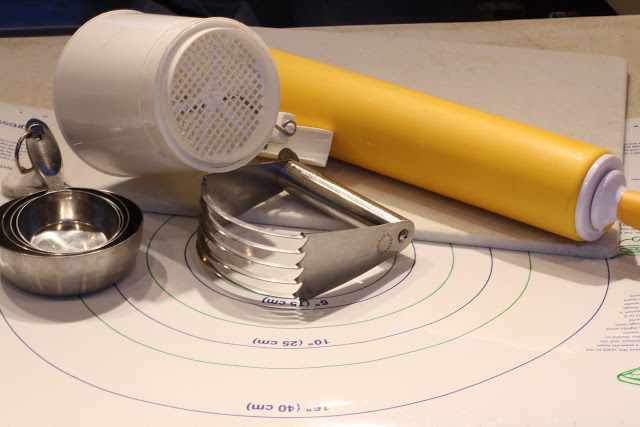
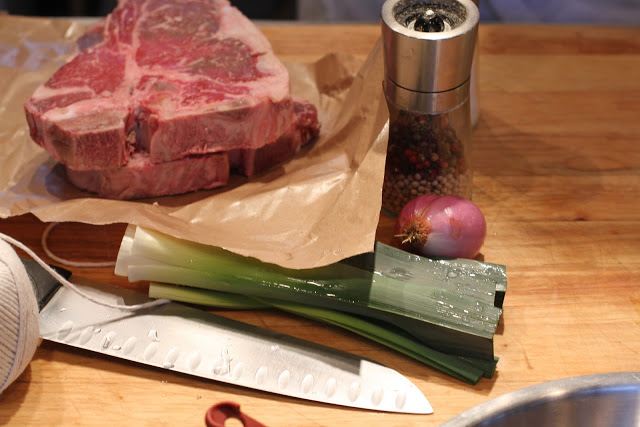
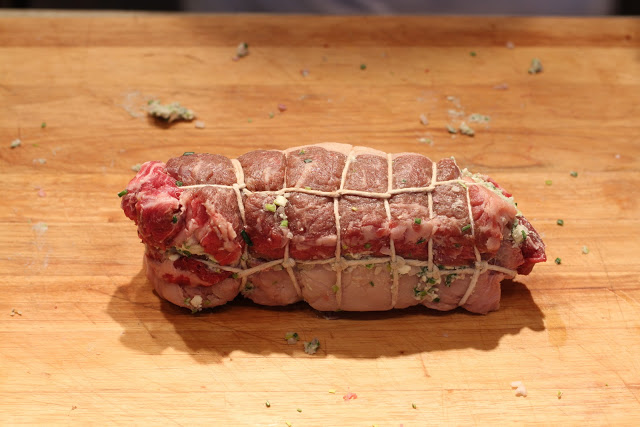
| Mis en place |
Ingrdients
1 (3 1/2- to 4-lb) chicken, cut into 8 serving pieces - I used two large breasts cut into bite-sized pieces
1 tablespoon olive oil
1 large onion, chopped - I substituted shallot
1 large red bell pepper, cut into 1/2-inch pieces - I substituted small sweet peppers, diced
4 garlic cloves, minced
2 teaspoons paprika
2 cups long-grain white rice
1 1/4 cups dry white wine - I cut this way back, even in my reduced proportion
1 (14-oz) can diced tomatoes including juice - I used fresh cherry tomatoes which I pureed with the immersion blender
1 3/4 cups chicken broth
3/4 teaspoon crumbled saffron threads
1 bay leaf (not California)
1 cup frozen peas (not thawed)
1/2 cup pimiento-stuffed green olives, coarsely chopped - I used the Spanish olives Gareth gets from Wegmans
Pat chicken dry and season with salt and pepper. Heat oil in a 12-inch heavy skillet (at least 2 inches deep) over moderately high heat until hot but not smoking, then brown chicken on all sides, about 12 minutes total. Transfer chicken with tongs to a plate.
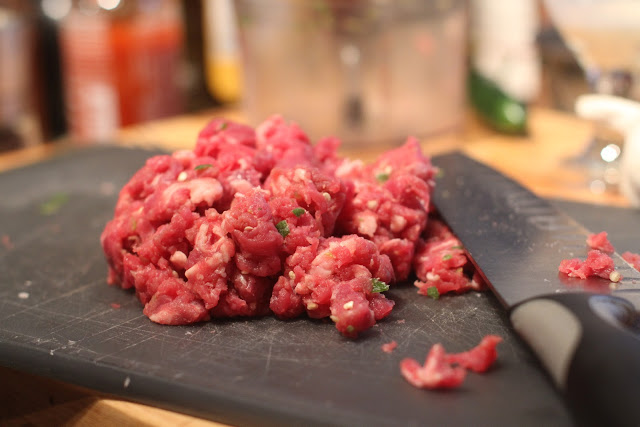
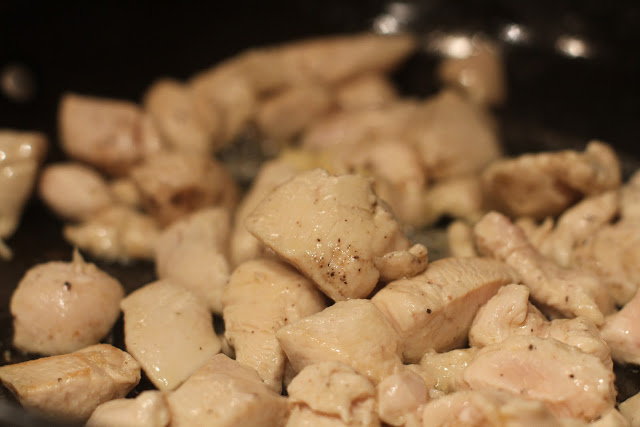 |
| No bones = no surprises. Chicken cooked all the way through |
Pour off all but 2 tablespoons fat from skillet and add onion, bell pepper, and salt to taste. Cook over moderate heat, stirring, until softened, about 7 minutes. OK, here's where I deviated. I added the wine at this point, using it to deglazed the pan. I have always considered this an Advanced Cooking Technique, but it was actually quite easy. I turned down the heat a little and let the alcohol cook off the wine, then added the shallot and peppers as instructed.
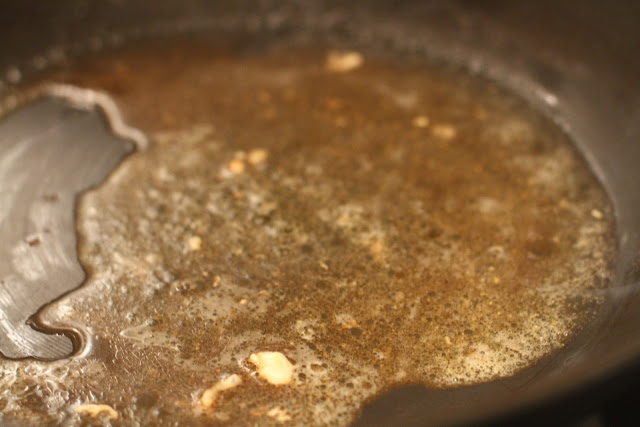 |
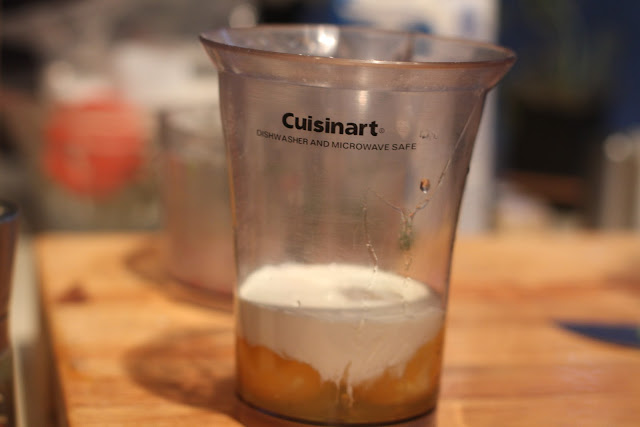
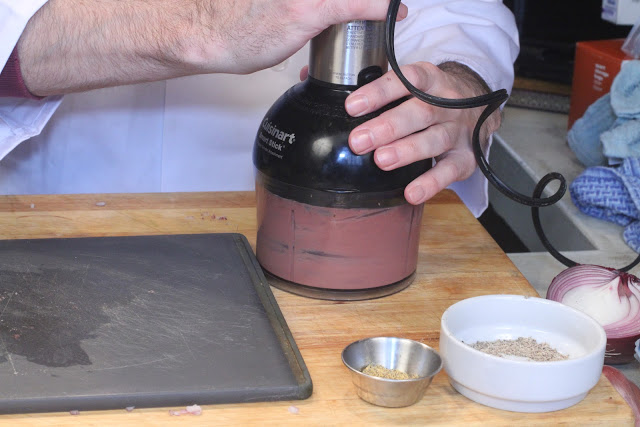
| Even I can deglaze a pan |
NOTE: I thought this was very chefy and was quite pleased with myself. When I told my counterpart of this great leap forward in my culinary skills, he looked horrified and said, "You cooked your veg in the glace from the pan?" Apparently, you should cook your veg in a separate pan and when you deglaze your meat pan, you add the glace to your sauce at the end. But, still, this is pretty far removed from the "Cut towards your chum, not towards your thumb" cooking advice I usually need.
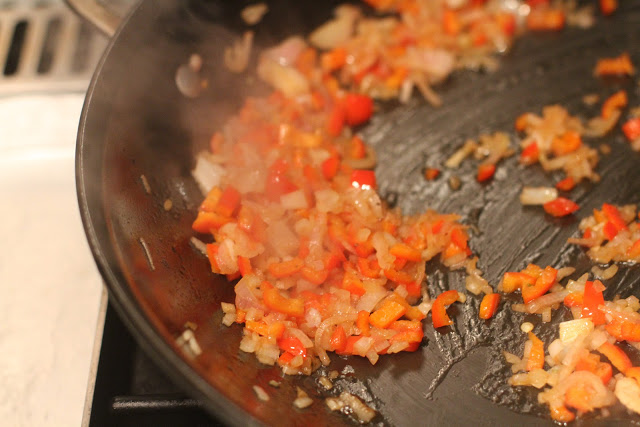 |
| The highly deviant technique of cooking veg in glace |
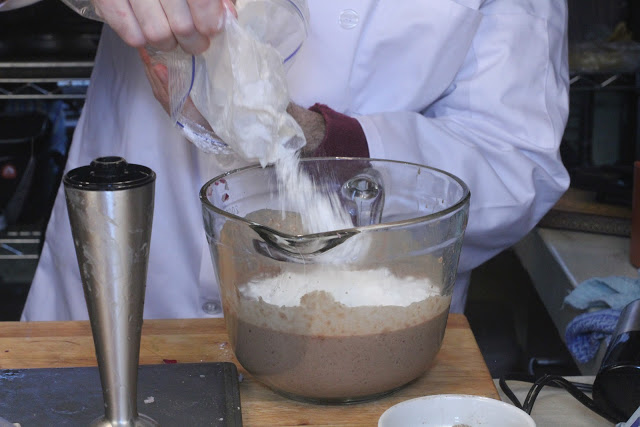
Add garlic, paprika, and rice, then cook, stirring, 1 minute. Add wine and boil, uncovered, 2 minutes. Stir in tomatoes with juice, chicken broth, saffron, and bay leaf. More deviance on my part. I decided to cook the rice separately. I did add the other ingredients (except the wine, which was added in the previous step). And I did use real saffron. We have some in the house, and I used it. But just a little. Making this the most expensive meal I have ever cooked, removing the grilled brie and Gorgonzola sandwich I cooked in goat butter a few months back out of the title position.
Nestle chicken in rice, adding any juices from plate. At this point, I just added my chicken pieces.
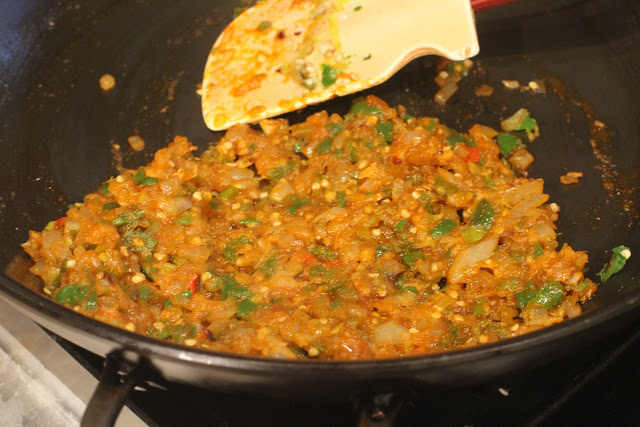
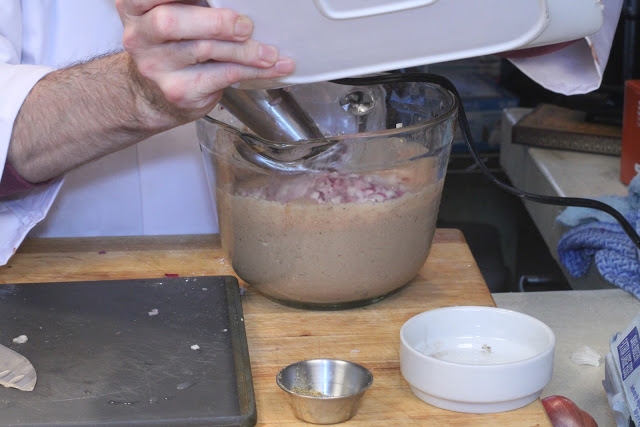
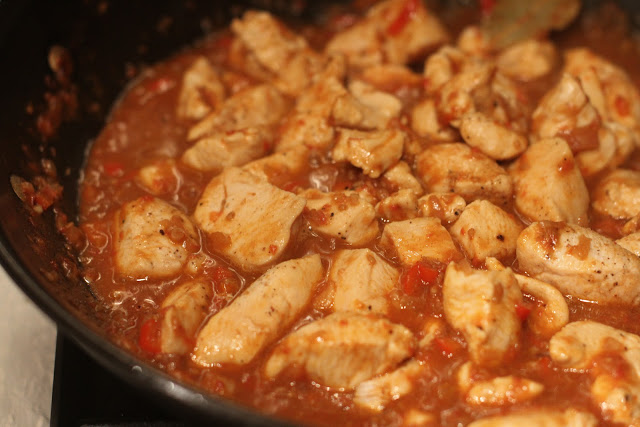 |
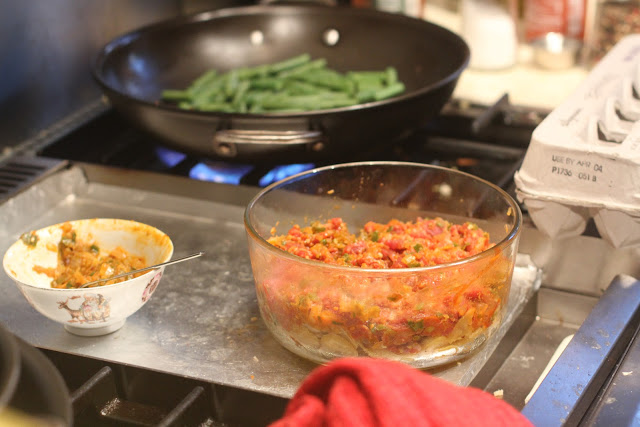
| Sauce is cooking down |
Cook, covered, over low heat until chicken is cooked through, rice is tender, and most of liquid is absorbed, about 15 minutes. I did let it all simmer uncovered until the sauce cooked down a bit - about 7-10 minutes. I also tasted it during this time and decided it needed a dash of cumin and a little more salt.
Remove from heat and stir in peas, olives, and salt and pepper to taste. Cover skillet and let stand 10 minutes. Discard bay leaf. I did this but lost track of time. When I came back, my peas were wilted.
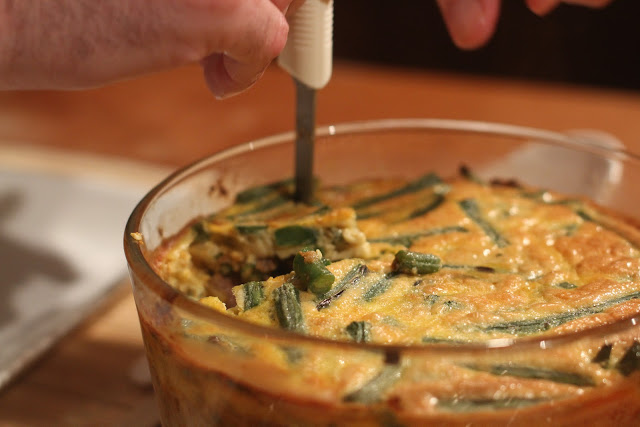
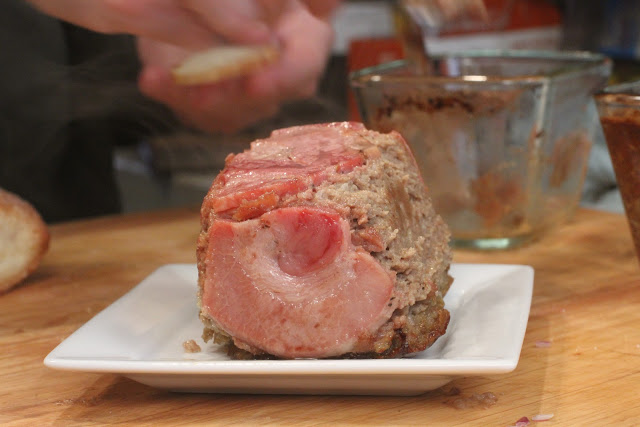
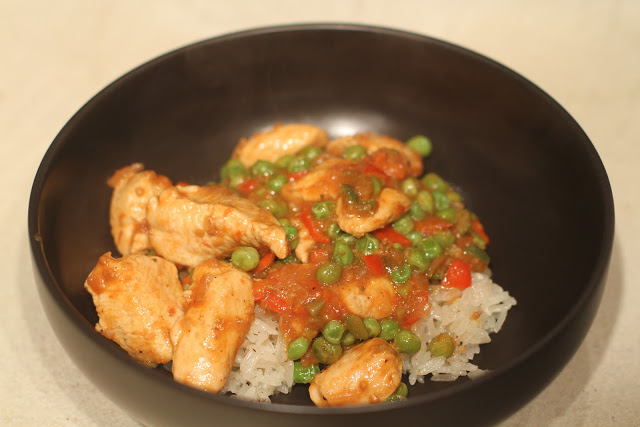 |
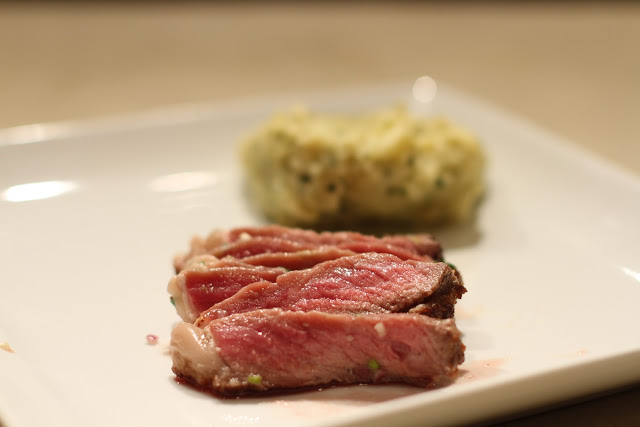
| Spanish Style Chicken with Saffron |
Overall, I got points for the light, tangy, flavorful sauce and the olives but demerits for the sad little peas. They didn't really taste quite right in the sauce. My counterpart suggests using a mix of carrot and celeriac cut into matchsticks for the veg and to serve on a small bed of cooked cabbage with bread instead of rice.