A Bento Lunch Experiment

The bento box has always appealed to me. I'm what's known as a sectional eater. If you serve me a meal of meat, veg, and starch, I'll turn my plate clockwise until the veg is closest to me and will proceed to eat one section at a time continuing clockwise around the plate. I also don't like my food to touch. This has fascinated my counterpart over the years, and he regularly prepares meals to thwart this tendency.

Given this quirk of mine, when I discovered bento boxes,  I felt like there was someone else out there who understood. The entire concept is ingenious - each item unique enough to stand on its own, placed in its own separated section of the box. If I had my way, all meals would be served in this manner.

Recently, through various food blogs, I've discovered the world of DIY bento - websites devoted to photos and ideas for turning standard lunch fare into a bento experience, extending the concept beyond Asian cuisine so that anything can become part of a bento box. This is my favorite food porn. I marvel at the creativity that goes into these lunches. The sheer artistry of the garnishes alone is breath-taking.Today I decided that it's time to give it a try.

My bento lunch is going to have a nice, wintery, Northern European feel. I'm making mini sandwiches that I'm going to pair with a fresh slaw. And I'm going to add a fruit section of tiny Mandarin orange sections. I'll use parchment paper between each section.

Mini Sandwiches

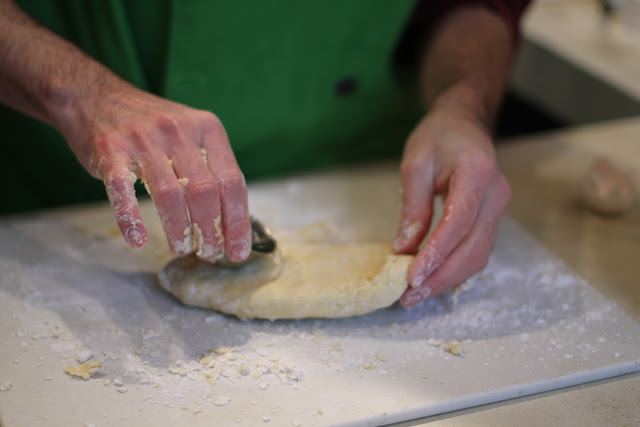
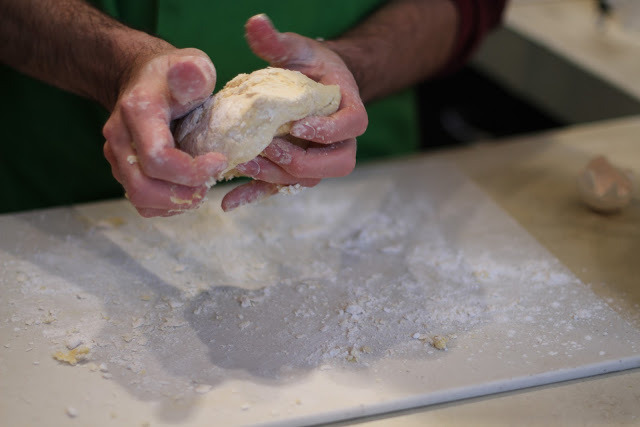
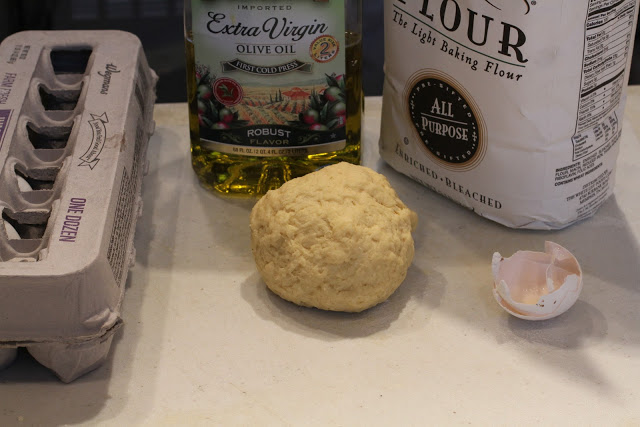
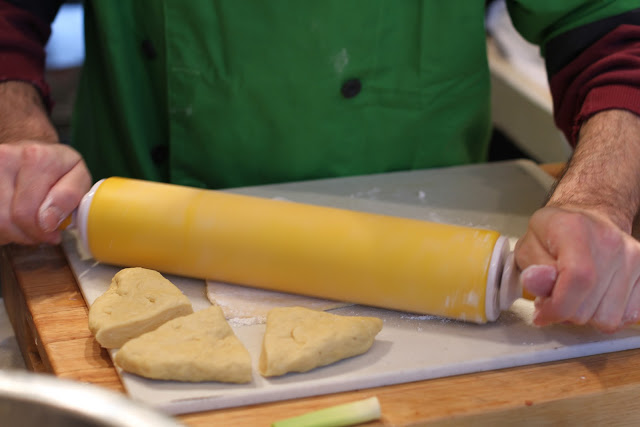
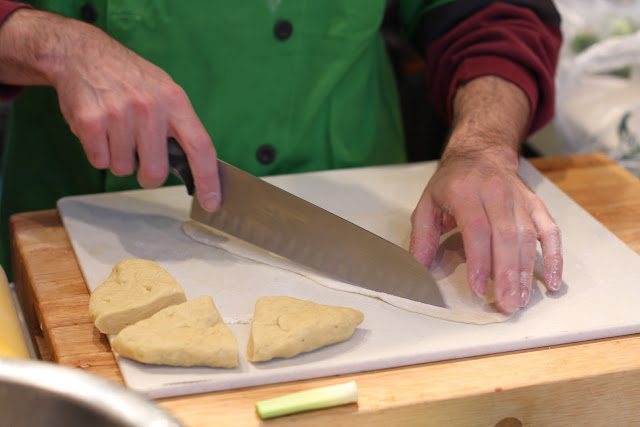
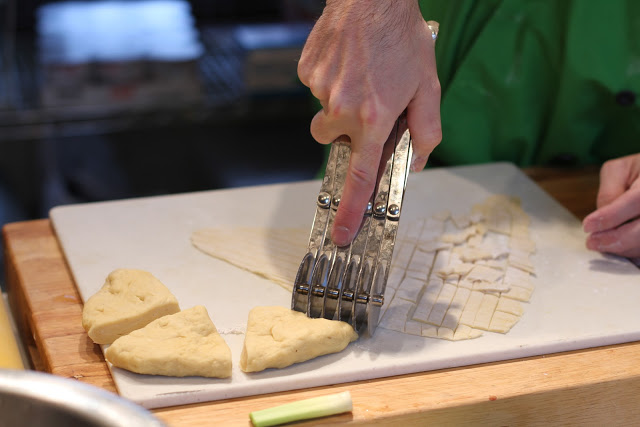
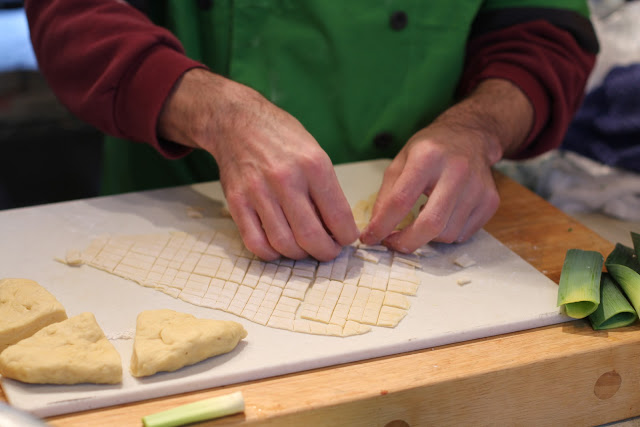
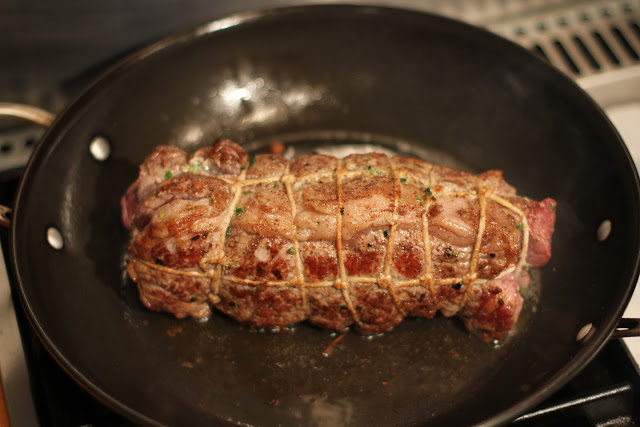
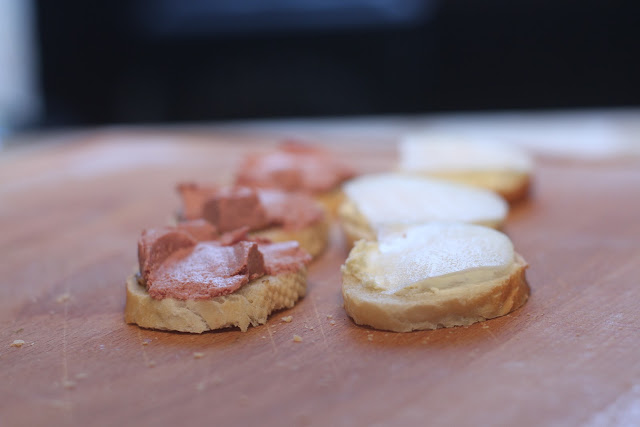
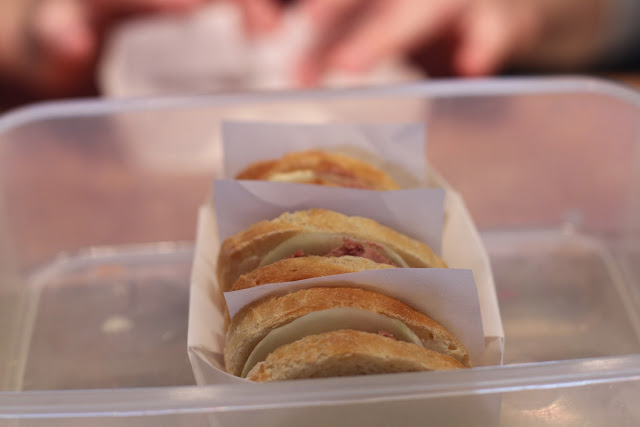
Nothing fancy here - just French baguette and kohlrabi, both sliced thin; mustard; brie; and Braunschweiger made into small, bite-sized sandwiches.


Slaw

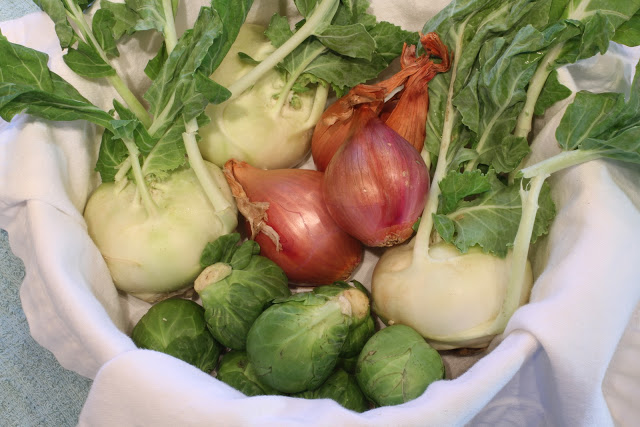
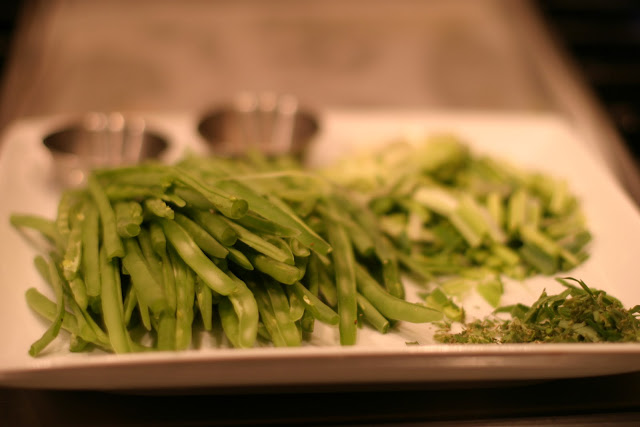
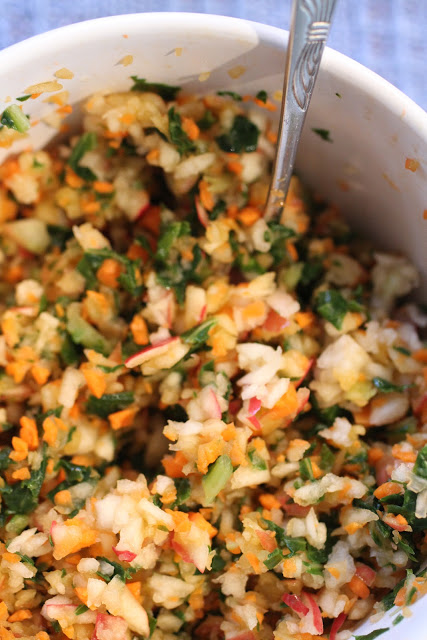
My knife skills are not what they should be for this task, so I am using the not-very-chefy technique of the food processor. The slaw consists of apple, kohlrabi greens, carrot and a little shallot, tossed with some sushi vinegar and a little sugar. It's a little bitter from the greens and the shallot, but the apple and sugar cut this a bit.


Assembly

This was more challenging than I thought. I wanted to use the parchment paper to create individual compartments inside my Snapware but couldn't figure out how to do this. Once my counterpart realized what I was up to, he was so impressed with the creativity of this venture that he gladly lent an origami-skilled hand.


He made little boxes out of the parchment paper that will keep everything separate and even added little sheets of paper between each sandwich. Here's the finished product.


I can see that I have quite a way to go. While all the flavors should work well together, it's visually out of balance. And I didn't even attempt a garnish. But I did have fun, so I'll keep at it. For some real bento lunches, visit Gamene's photostream on Flickr and check Foodista for a weekly Bento Love posting.

Homemade Pasta

One of the easiest things to make from scratch at home is pasta. The ingredient list is similar to pie crust - flour, fat and a little liquid - but unlike pie crust, pasta is forgiving, which gives you a lot of room to play around. And fresh pasta is infinitely superior to the dried stuff in the cardboard box, but also quite a step up from the stuff in the dairy case.

The basic recipe that my counterpart uses is the egg noddle recipe that came with the pasta attachment to our Kitchen-Aid mixer. He's committed it to memory, so he no longer bothers with the recipe. Or the Kitchen-Aid for that matter.

Start with a couple of handfuls of flour and a couple of eggs and mix vigorously by hand on a large cutting board. Incidentally, he uses the same board for pasta that I use for pie crust. Basic all-purpose flour is a good choice. You can add a little of another variety for a different texture. My counterpart has included whole wheat, buckwheat and oat at various times.


Add some oil, a little at a time, and continue kneading the dough.


You should have a little water nearby. Add the water until the dough is firm yet elastic and not sticky. At this point, you can also add some herbs and seasoning.


Roll it into a ball and let it rest for 30 minutes. Then roll and cut.


Now here's a secret. You don't really need any fancy equipment. You can roll it out on your cutting board and cut it with your chef's knife.


My counterpart was making orzo to go with my birthday venison on this occasion. The device he is using below is another quality find from Warehouse Restaurant Equipment in Green Bay.


Remove from the cutting board and boil.


Note that the fresh pasta will cook quicker that the dried stuff in the cardboard box. It will also hold a sauce better. If you have leftovers, you need to eat them within a couple of days.


Some Notes on Food Photography

I dedicated considerable time this long holiday weekend to improving my photography skills. The new camera provides an opportunity to cultivate new habits. Plus the differences between the old and the new have made it necessary.

So, first some notes on the upgrade. I have a Canon 10D. It's served me well for the better part of a decade in the realm of nature photography, out in the open where there is plenty of good, bright, natural lighting. Until the New Year's Even posting, it was not used in conjunction with this blog. In its day, it was a high-end prosumer product - better than the Rebel but not as good as the low-end professional gear. It had the same ability to manually set the camera, but the menuing was arcane. The professional photographer who taught the mini-course I took at the Y last spring was even baffled. Given the lack of understanding about my camera, I relied heavily on the "training wheels" - the settings familiar to many of us:

The Canon 10D - complete with training wheels


Enter the 7D. This is a step (or maybe two) up from the 10D as Canon no longer makes an equivalent. The 60D is the closest approximation, but after doing a little research, it's actually much closer to the Rebel than it is to the 10D. So, we seriously upgraded. Gone are the training wheels, but in exchange I have a menuing system that I understand and can actually use:

The Canon 7D - a whole lot of auto settings eliminated


So that got me moving in the right direction. The first thing I found was the white balance. Then I started manually setting my aperture and f-stop. All of this improved the quality of my food shots. The red influence from our halogen track lighting was diminished, and the shots started looking a bit sharper.


Poor white balance - default setting


Better white balance - set for Tungsten lighting in my halogen-lit kitchen


The next step was the introduction of the tripod. I've always been a hand-held photographer, believing I'll get that perfect shot only if I have the freedom to capture the subject from all possible angles as quickly as possible. While this may work for shooting flowers and butterflies, it does not work for shooting food.

But not all tripods are created equal. Stability is important, even if you are on level ground inside the house and everyone else is in bed asleep. The earth has energy, and, if you're using a crap tripod or an unstable setup, subtle vibrations will throw your image right out of focus. you should be able to see into the view finder without standing on tip-toe. Once the focal point, aperture and f-stop are set to your liking, it's hands-off except to click the shutter and take the shot.

Poor tripod setup 


Stable tripod setup


With a good tripod and a better understanding of aperture priority, I was able to alter the f-stop and play around with the focal points of my shots, moving away from the pin-point focus and fuzzy background to a more evenly-focused image.

That lighting remains an issue, though. Unless you can block off all natural light, things are going to change throughout the course of a shoot. My pie crust posting is a perfect example. During the 30 minutes that my dough was resting, something happened to the ambient sunlight. And, here's another lesson - because I was multi-tasking, I was more focused on the pie crust than on the photography and did not fully appreciate the depreciated lighting until I downloaded my images.

Beginning of shoot - approximately 3:30 PM

About 45 minutes later - much of the natural light is gone but I am too busy baking to notice

End of shoot - about 5:30 PM, no natural light left but no change to white balance settings either

I still have a long way to go. Looking at the work of others, it seems that white balance, aperture, f-stop, and stability are not enough. The best food photos have diffused light. A Fervent Foodie post last week provides instruction on creating a home lighting kit. I think that's my next task.


Frenched Rack of Lamb

In recent weeks my counterpart has turned once again to French cooking. Aiolis are giving way to wine-based cream sauces and pans are deglaced with glee. We've dabbled with game as well, eating partridge and rabbit over the holidays. As the work week started up again and we returned to our day-to-day routine, the French influence has remained in the kitchen. Earlier in the week, lamb (a standard in our current diet) was given a French makeover when it was bundled with fresh rosemary and roasted in a similar manner to our New Year's rabbit. We chose a rack of ribs for our dinner.

A note on Frenching: This is not as exciting as it may first appear. When meat is Frenched, the butcher removes the meat surrounding the rib bone by vigorously pulling a string between the meat and the bone. Here's a helpful video for more information.


First season the lamb with a little salt and pepper. Then bundle it up with some fresh rosemary sprigs.


Pan sear the rack in hot oil, flipping after a few minutes.


Place it on a rack in a heavy skillet and roast in the oven until medium rare. While the meat is in the oven, make your vegetable medley. We used shoestringed green beans with a little leek, red pepper and fresh oregano and sauteed them with a little chicken stock and white wine.


Pull the rack and remove the rosemary bundle. Using your kitchen tongs in this process is very chefy. Try to remove as much of the rosemary as possible.  I got a bite with a hidden twig still attached and it was quite the flavor experience.


Slice the rack into individual ribs.


Serve with your vegetable medley and a little orzo.