The cold, dark days of January seem well suited for some long-term cooking. We've been working on variations to the bread recipe posted earlier this month with increasing improvement with each loaf. We also decided to try our hand at a home-cured pastrami.
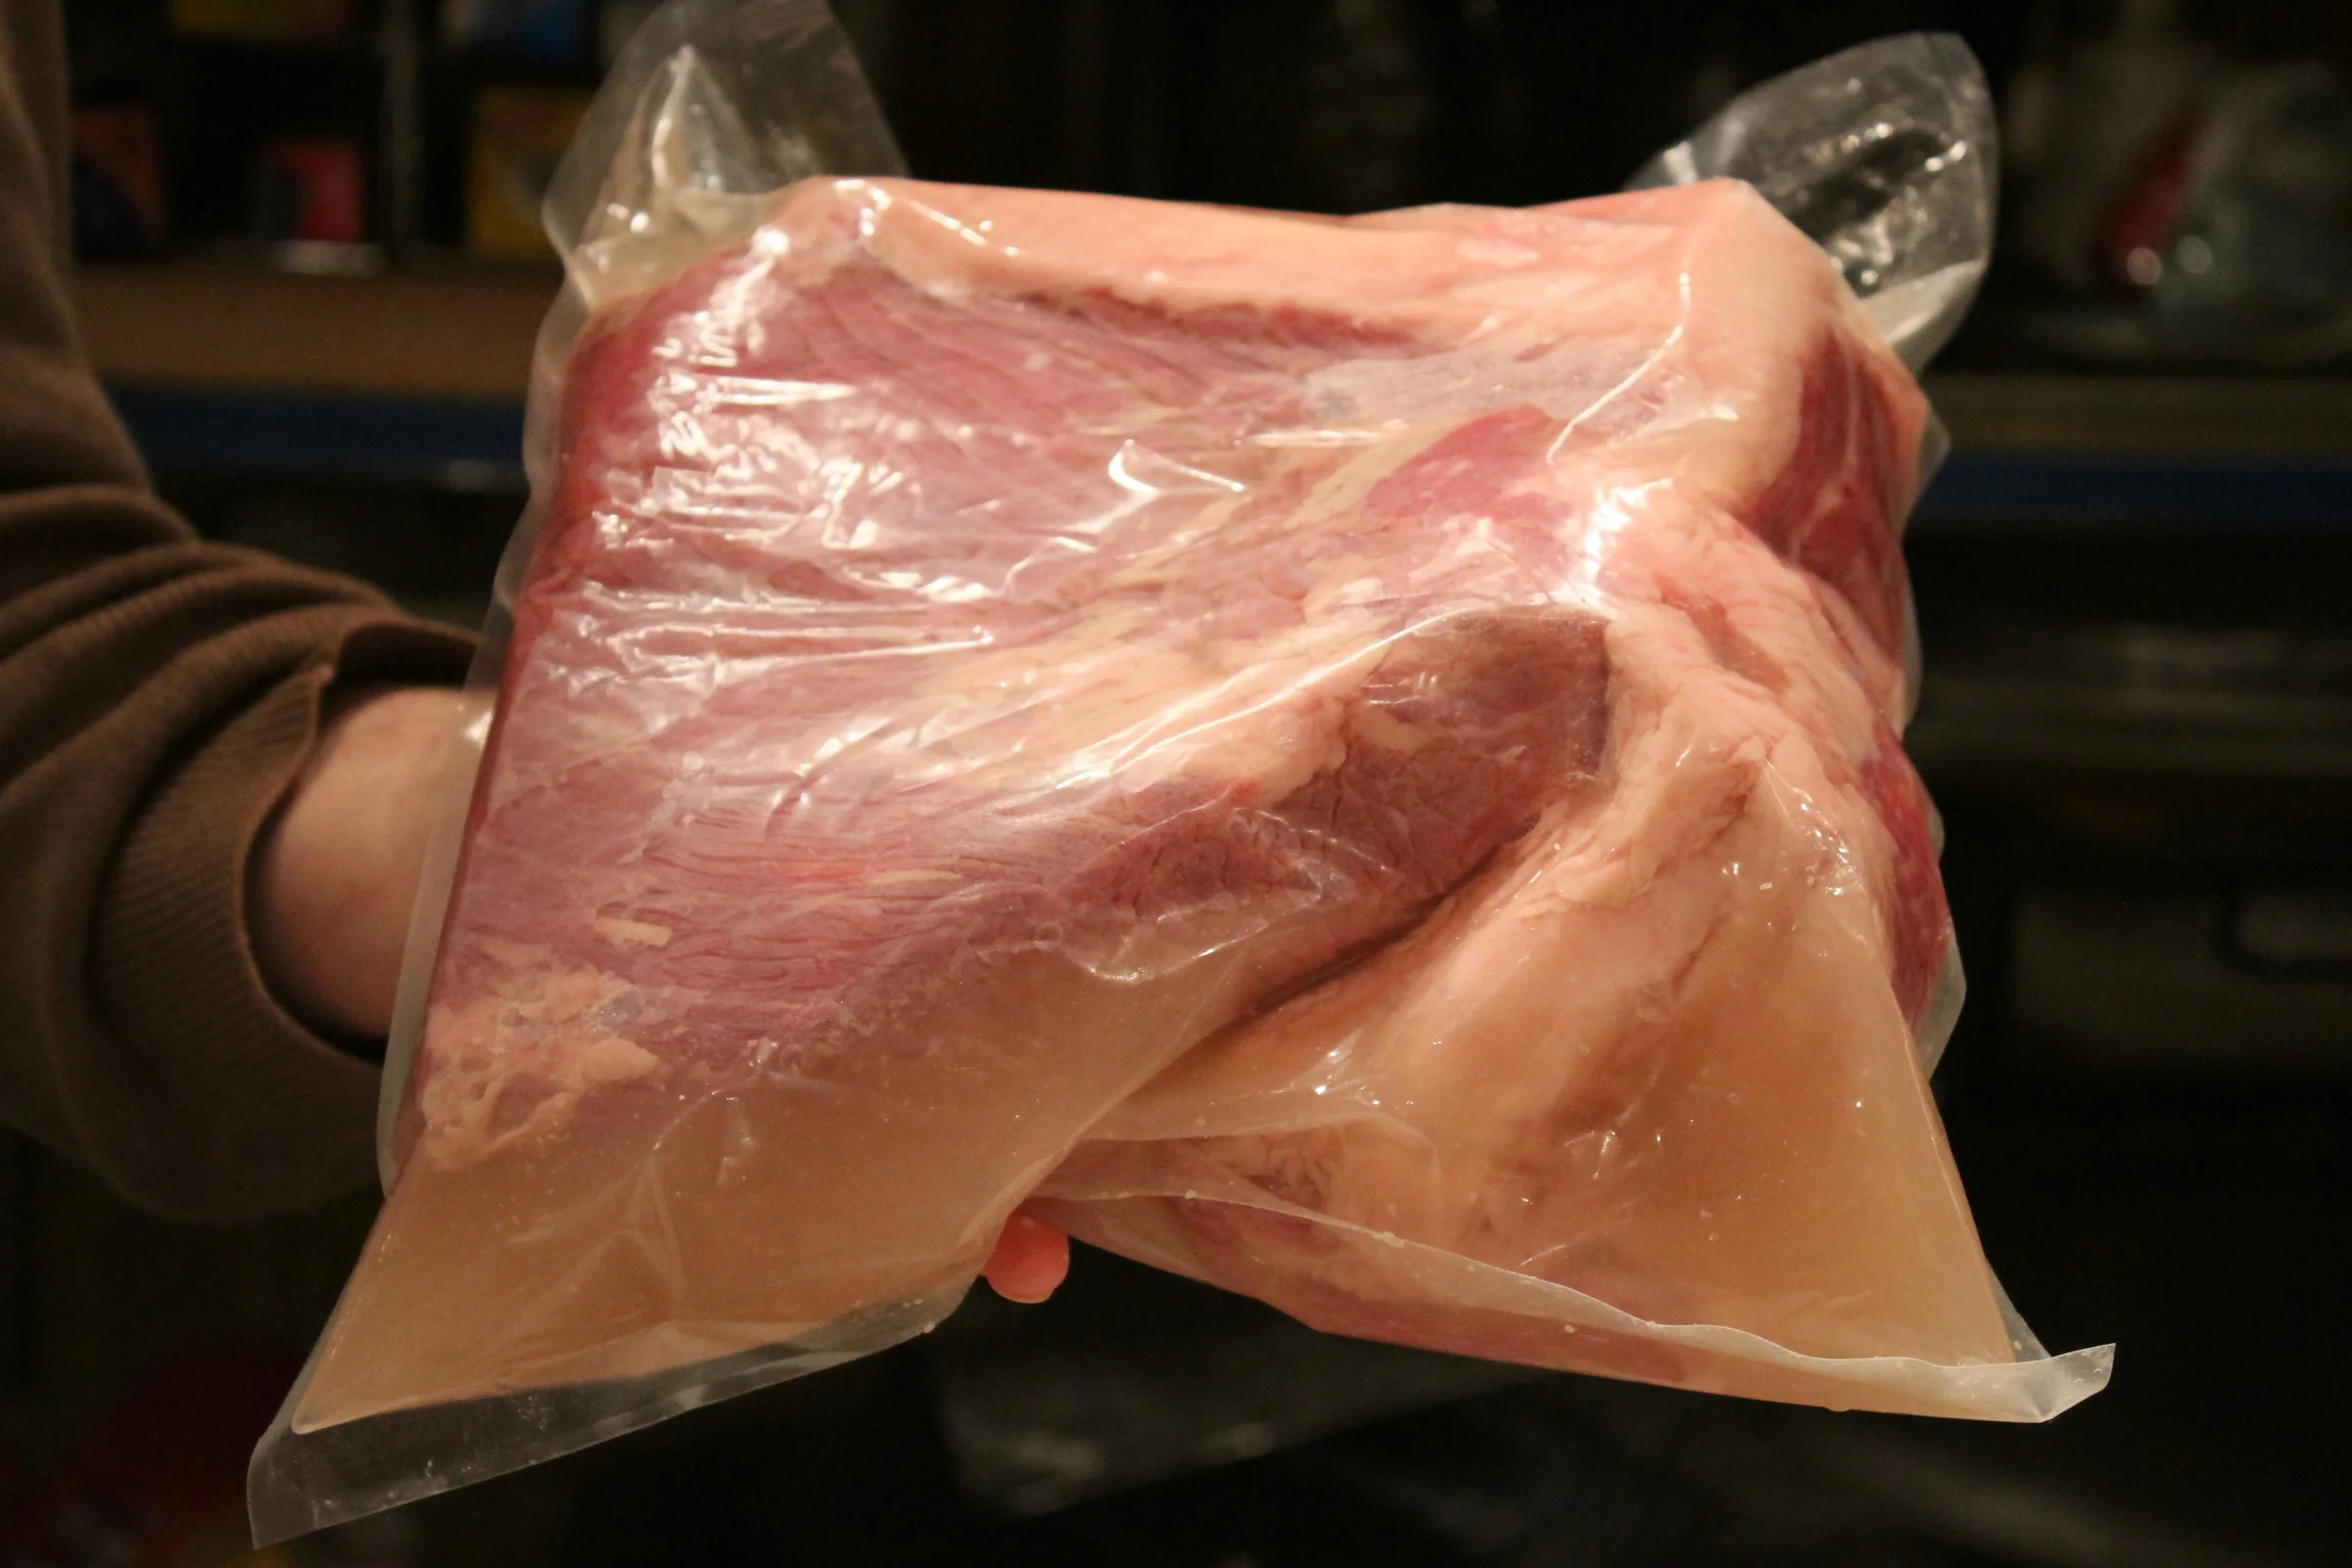
For this, you will need a sizable beef brisket, a good collection of spices, and several days to wait.
Step 1: Corning
First, inspect your meat. Trim off any imperfections. And make sure the surface is dry.
Next, apply a generous amount of coarse salt to the exterior, rubbing it in and covering all sides.
Now it is ready to corn. Place your salted meat in an air-tight container - we used our chamber vacuum sealer here to great effect. Then add a mixture of salt and vinegar - we used about a cup of each. Even though vinegar is a toughening agent, we are using it here because the corning process will take about five days. In this application, the vinegar is being used as a preservative to guard against potential corruption.
Seal up your container and place it in the refrigerator to corn.
Step 2: Seasoning
After about five days, your meat should be corned. Remove it from your corning solution and prepare your spice rub. We used mostly common household spices, but we used a lot of them:
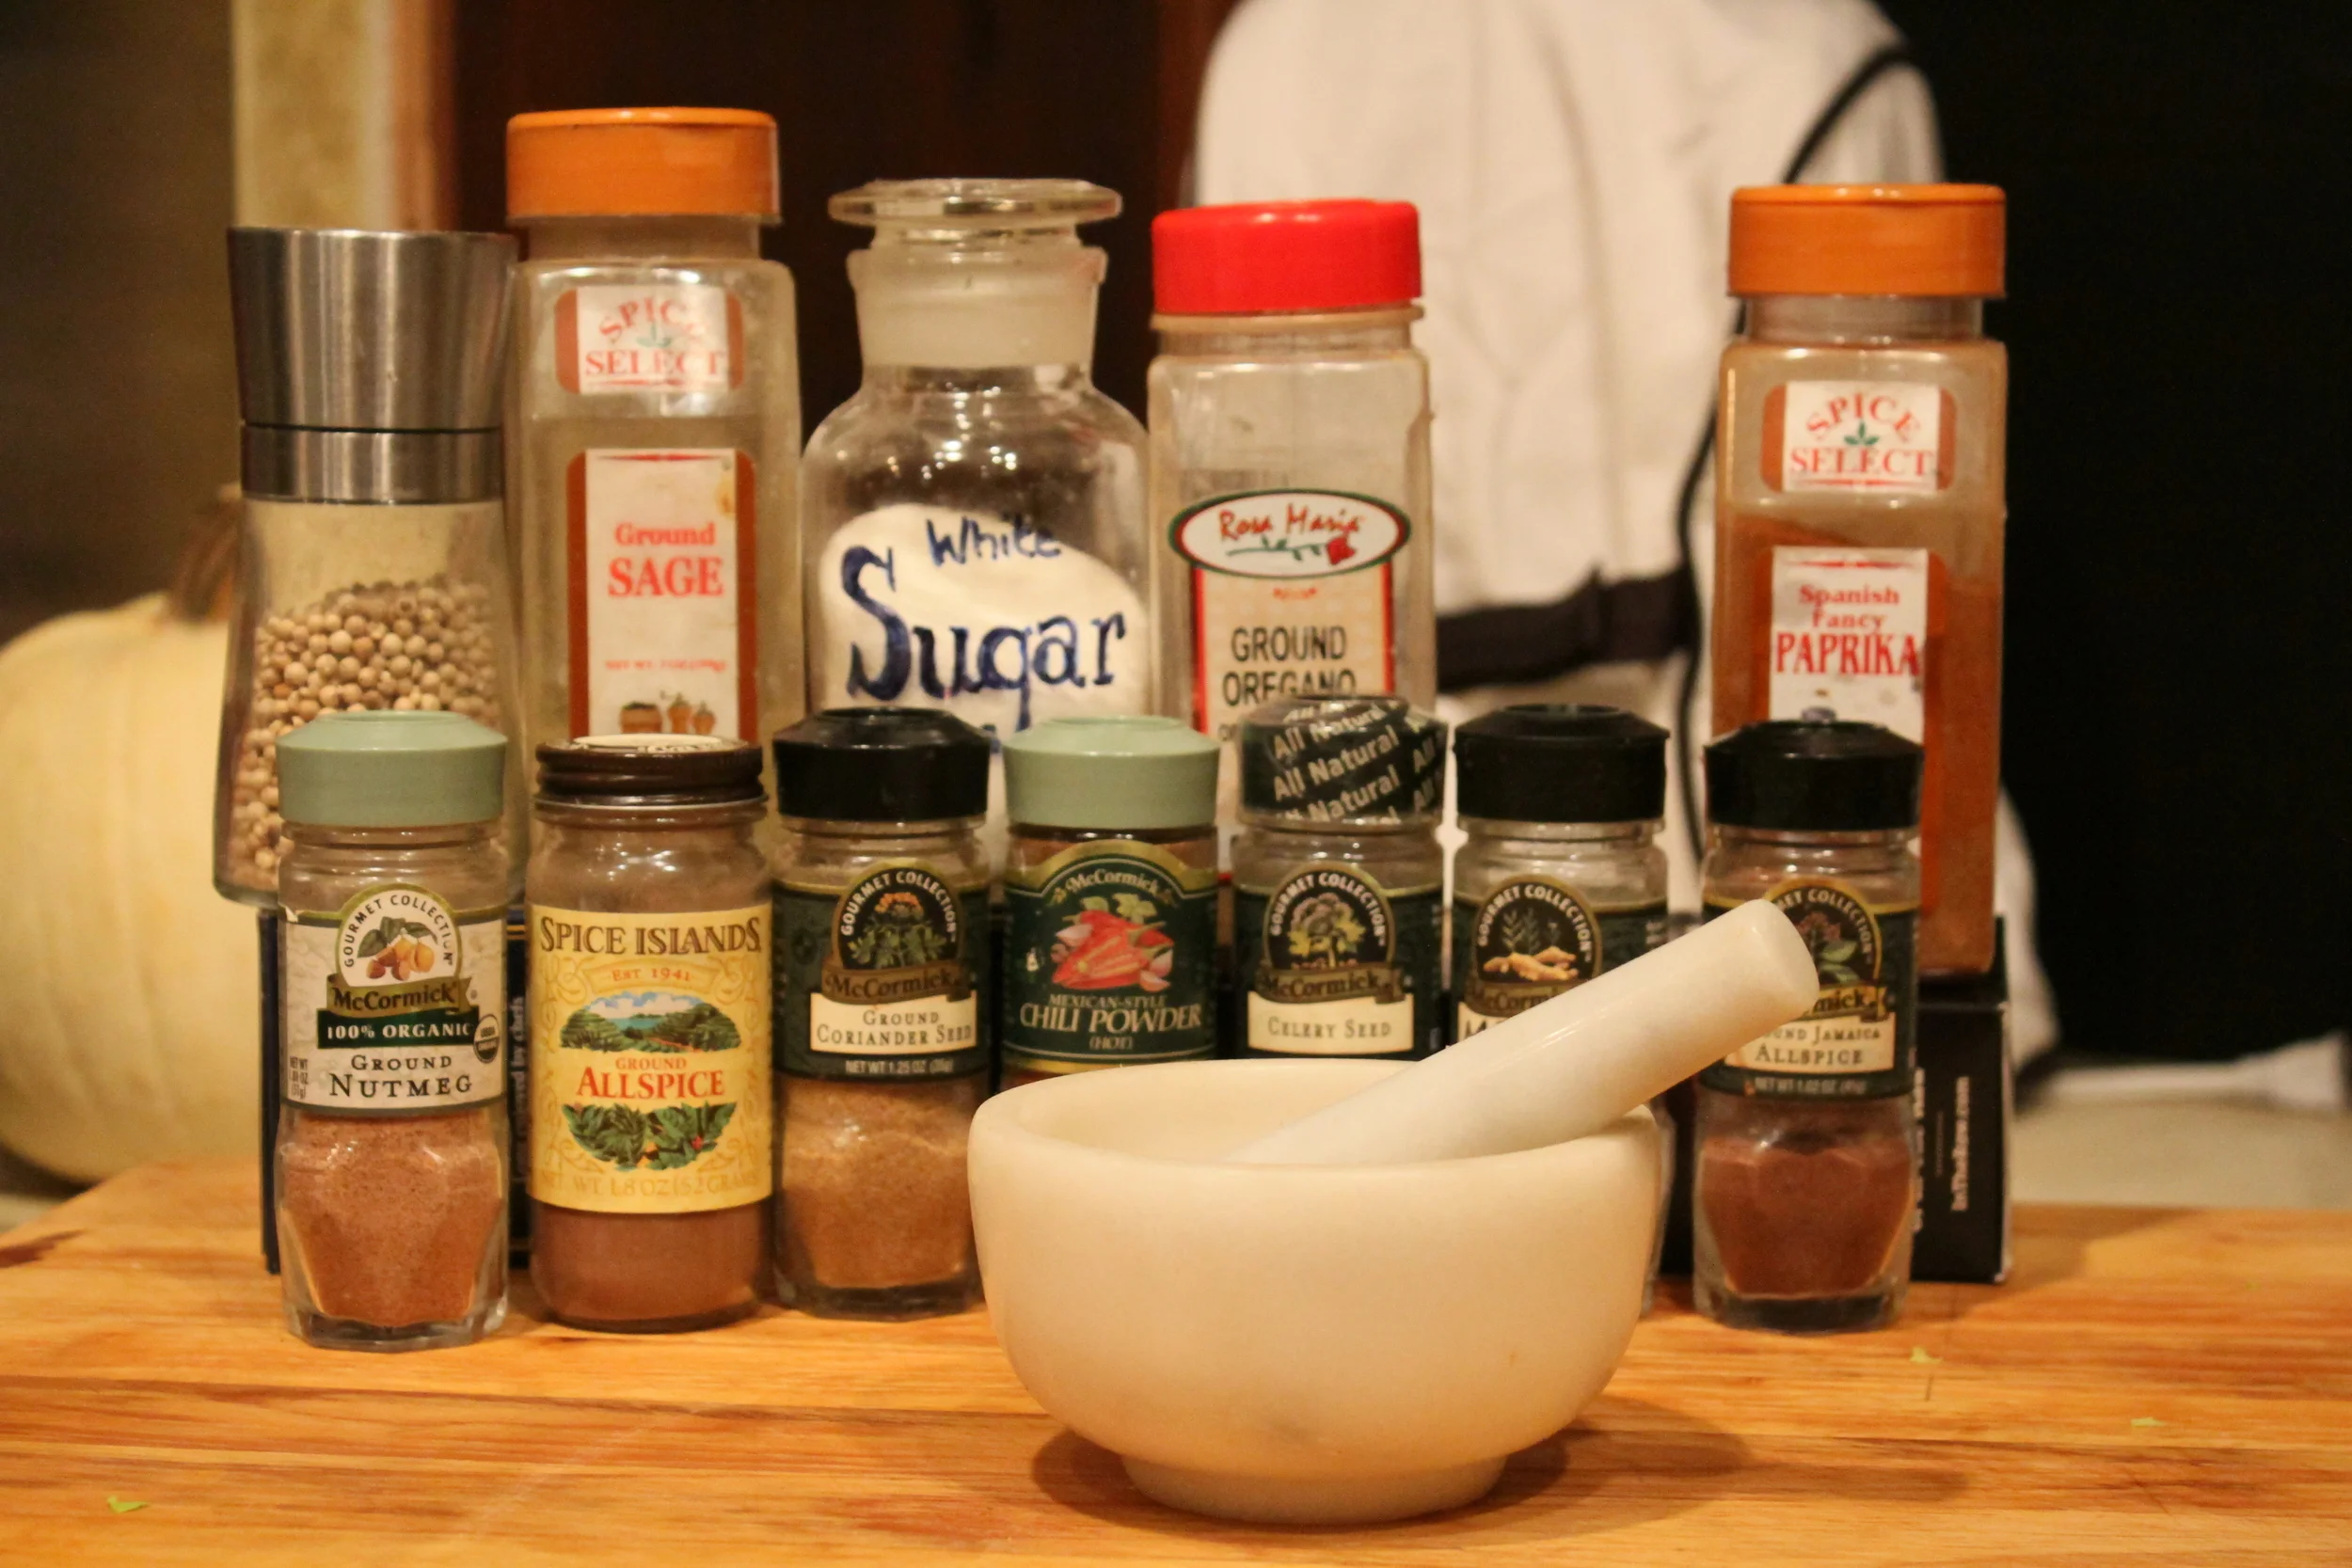
A coffee grinder is a nice way to blend your spices together. Once they are blended, rub the mix along the surface of your corned beef.
You'll need a tray and a rack now, because your seasoned meat is going back in the fridge to dry. This will only take a day or so.
Step 3: Roasting
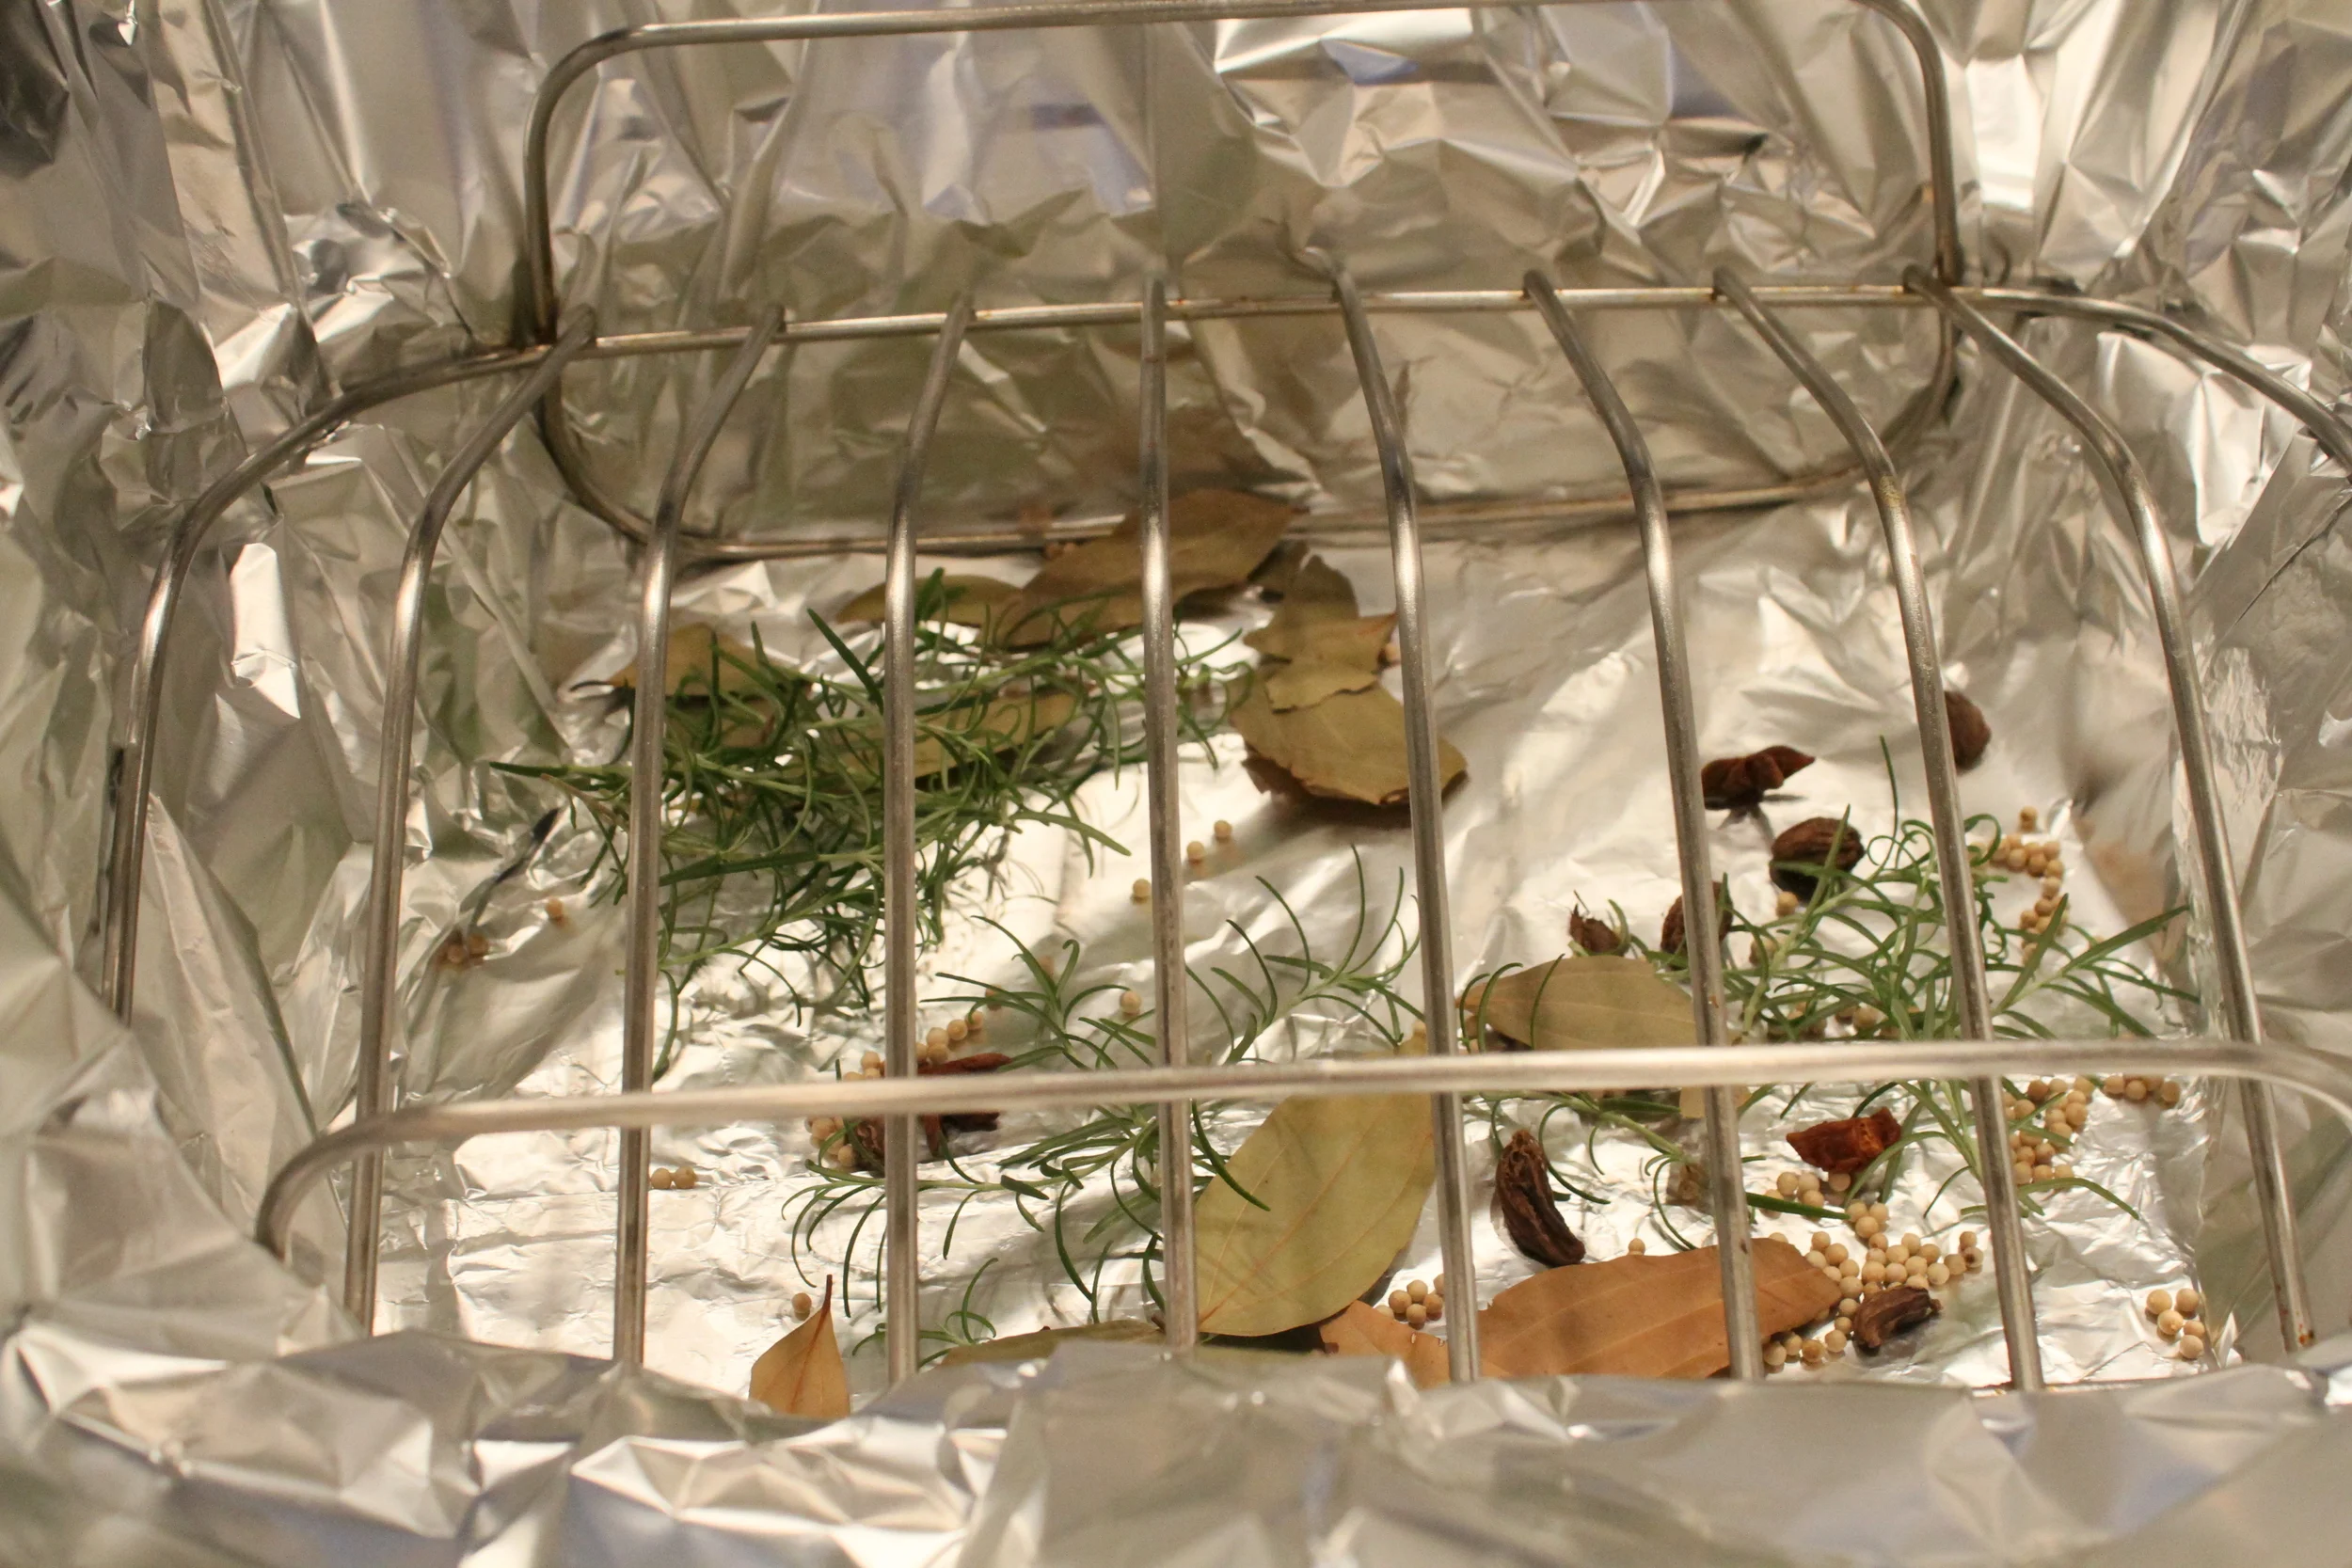
To complete our pastrami, we will slow roast it in a warm oven for several hours. You'll need a large roasting pan, a rack, and a lot of aluminum foil. Line the pan with foil leaving enough to create a foil tent for your meat. Place the rack upside down in the foil-lined pan. You'll be adding water to the pan and cooking your meat over the water so that it steams while it roasts.
To add more flavor to the pastrami, place some additional seasoning in the pan. We used bay leaves, rosemary, anise, white peppercorns, and whole cloves.
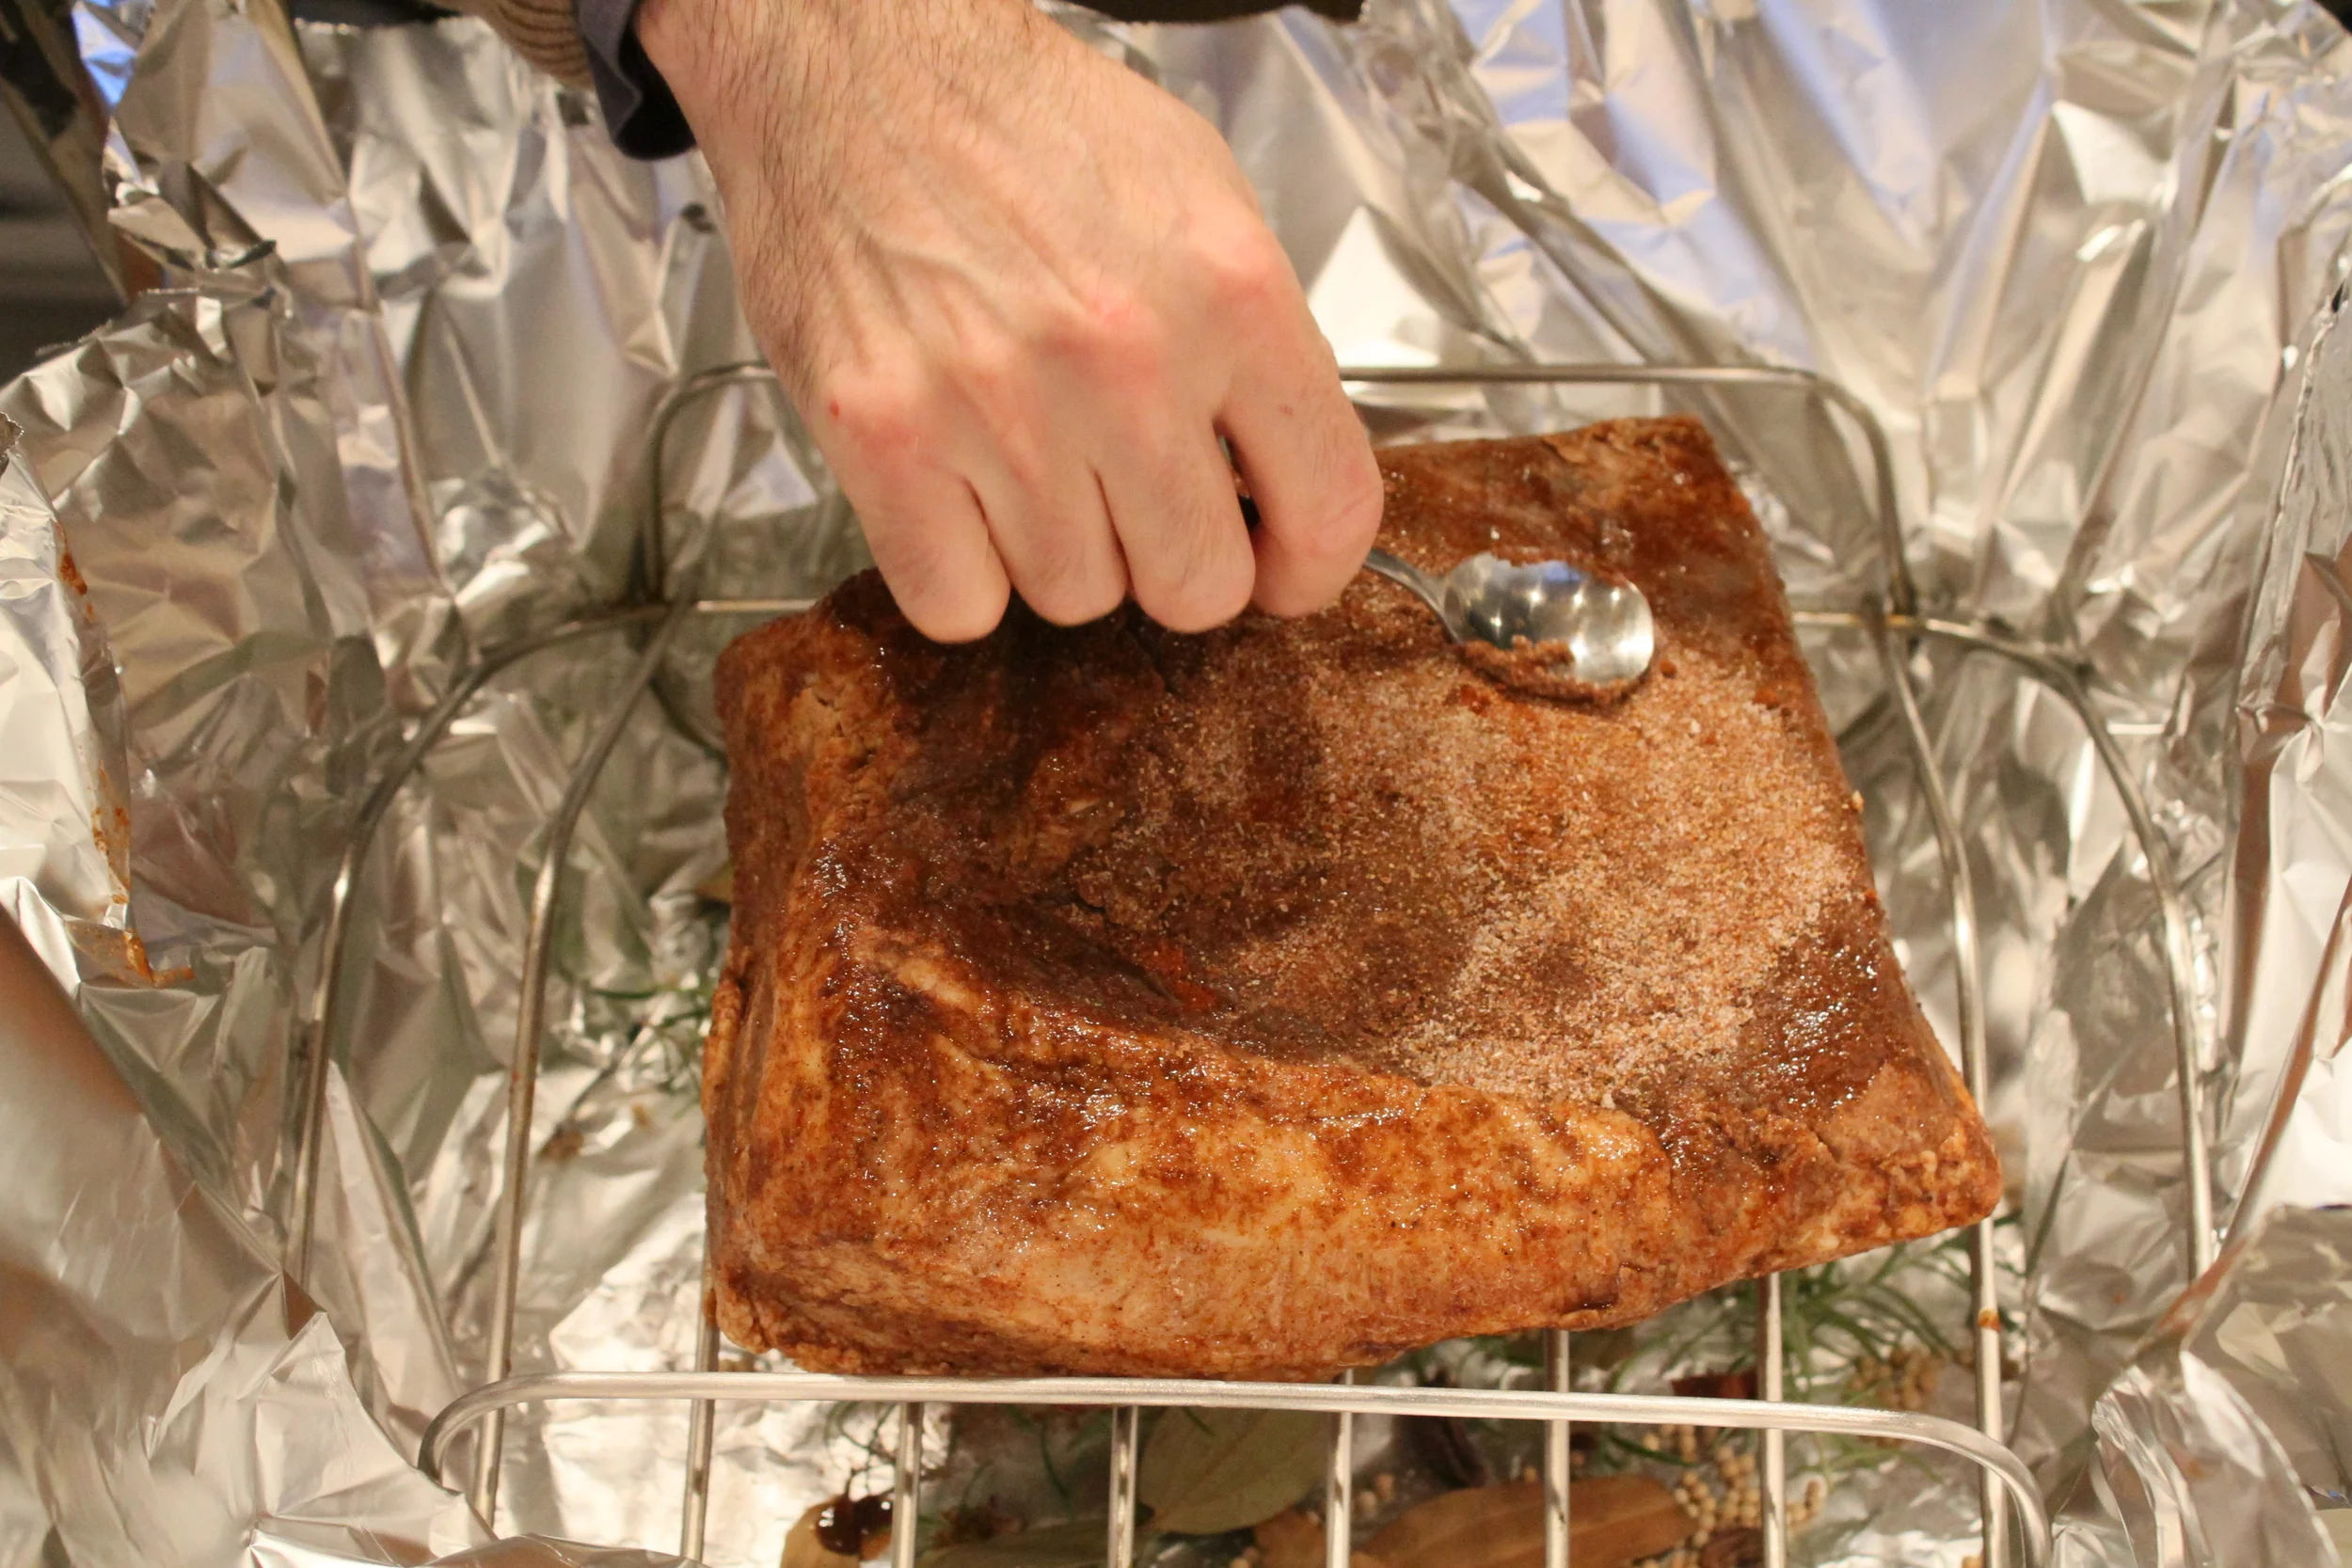
Do another spice rub on your meat.
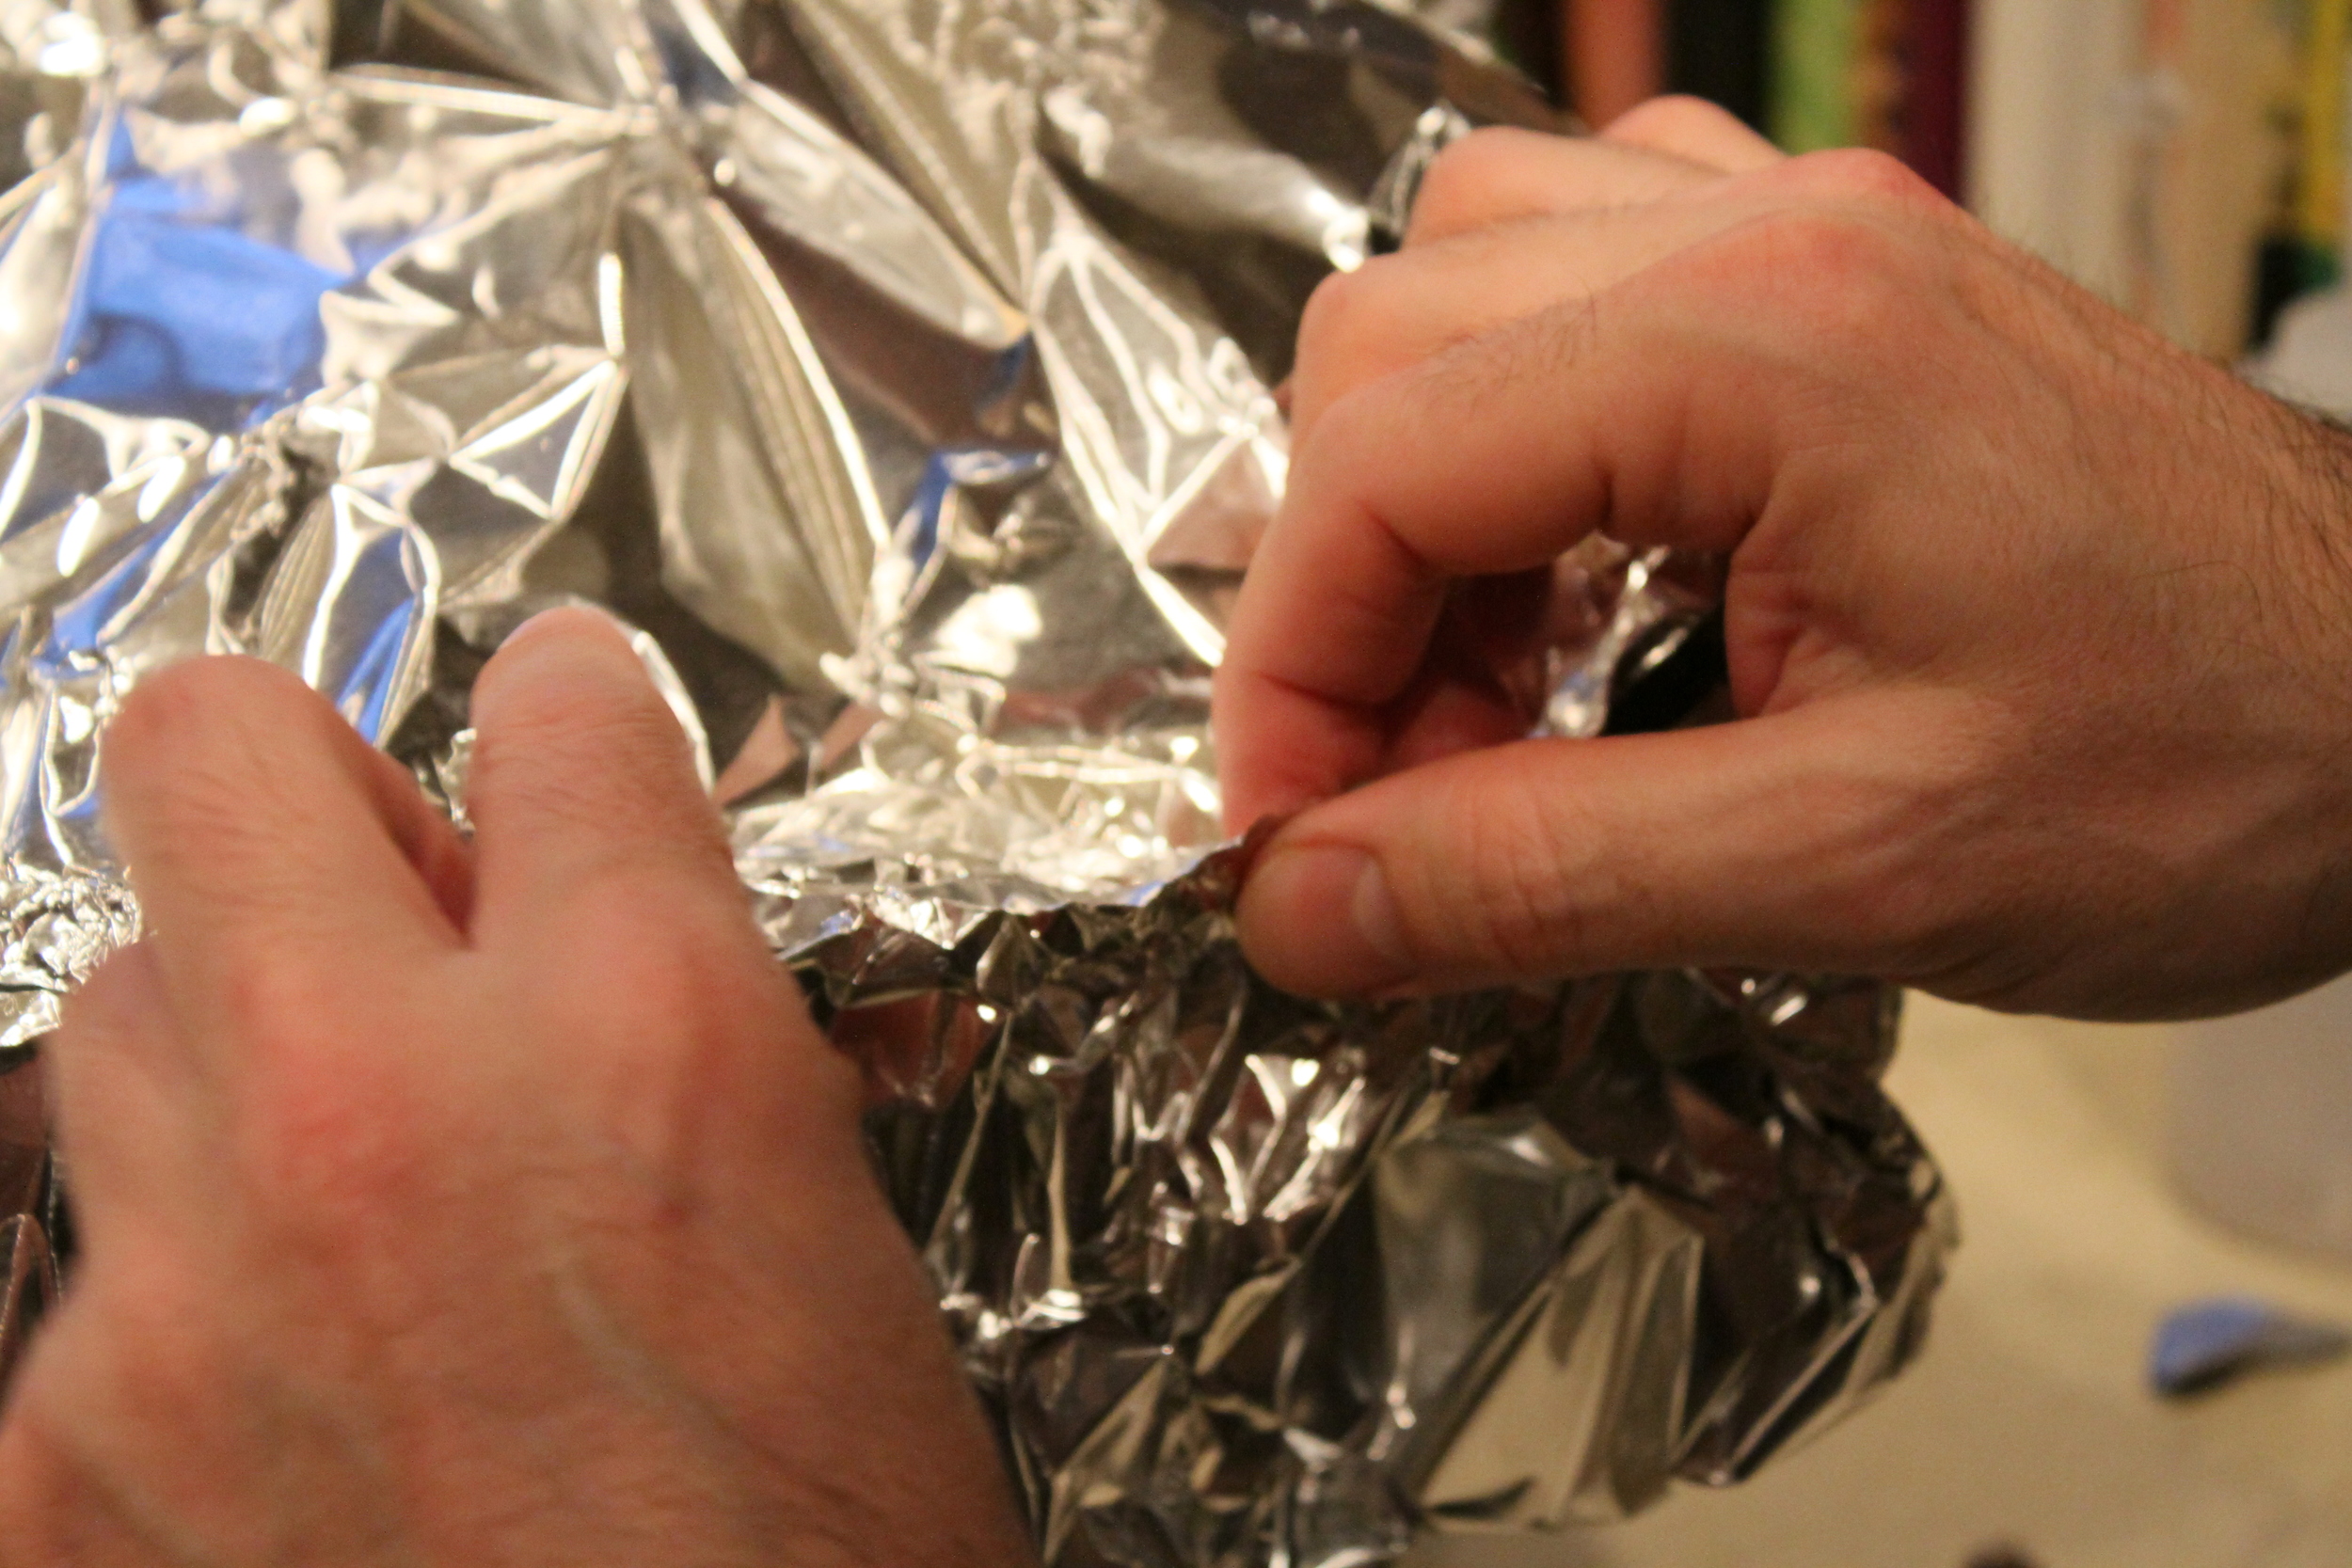
Place the meat on the rack and carefully seal the foil tent around it so that there is plety of room inside. Also, leave a little opening so that you can add water and check on the roasting progress.
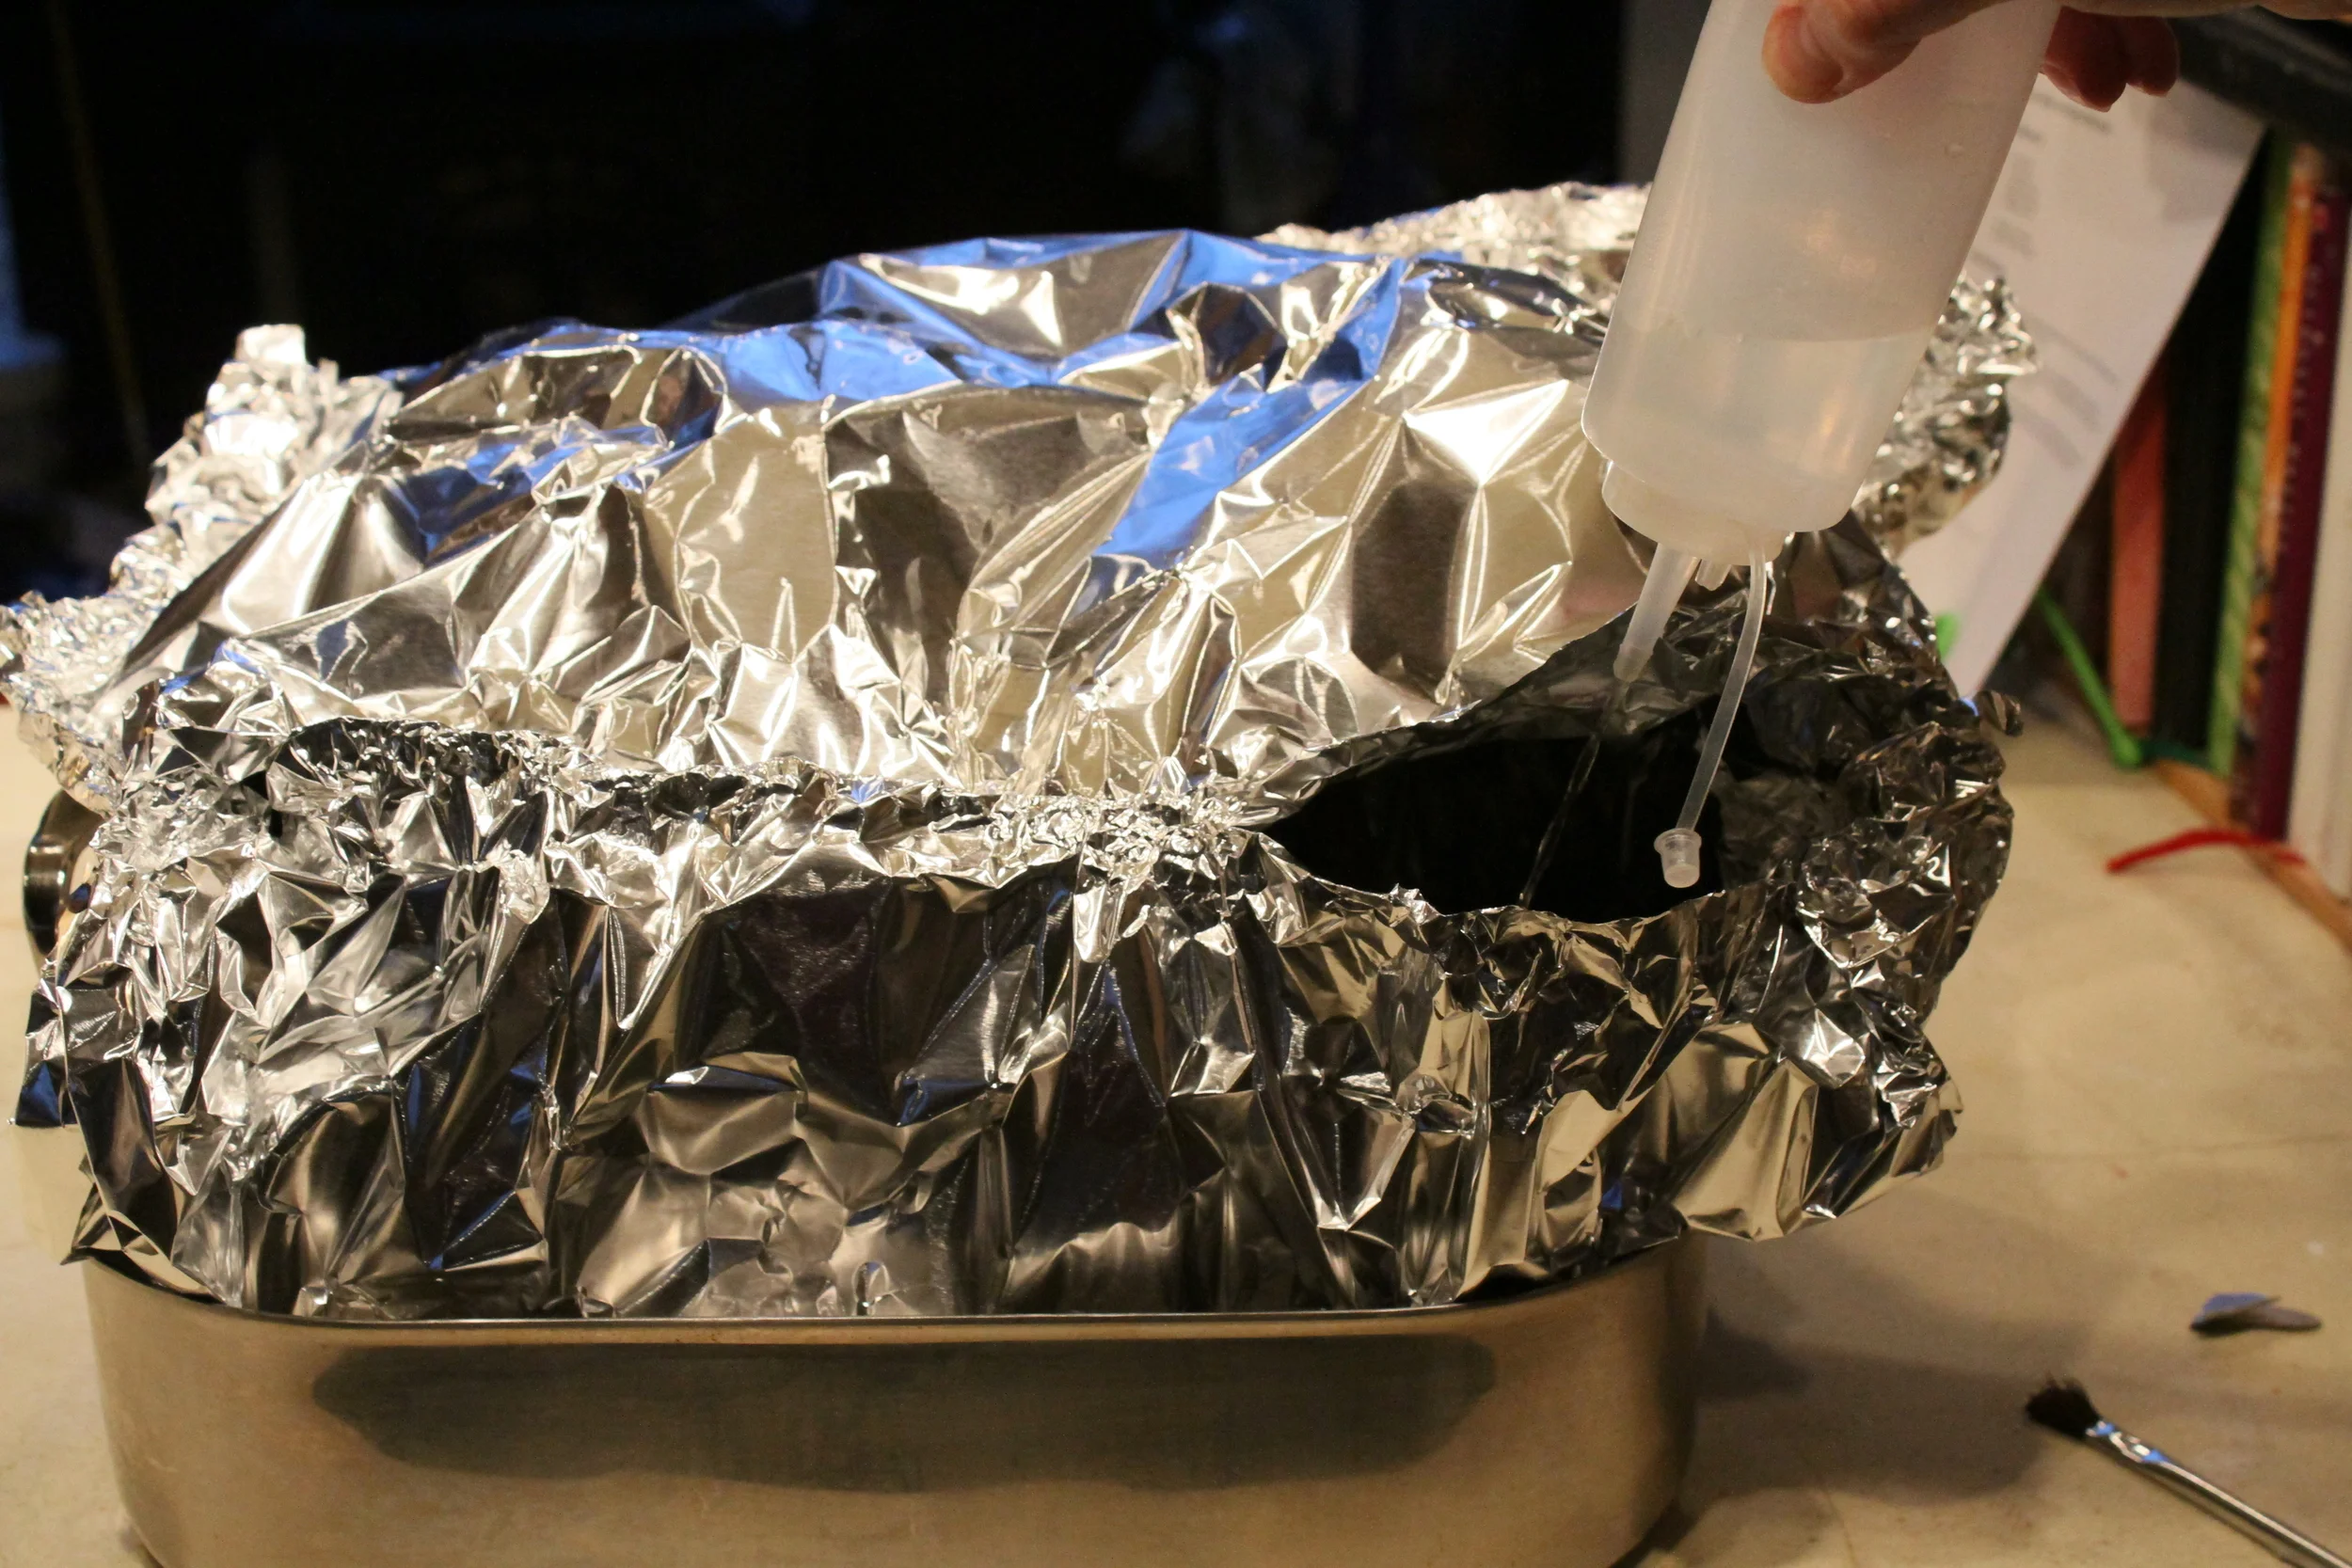
Add your water, seal it up, and place it in the oven to roast.
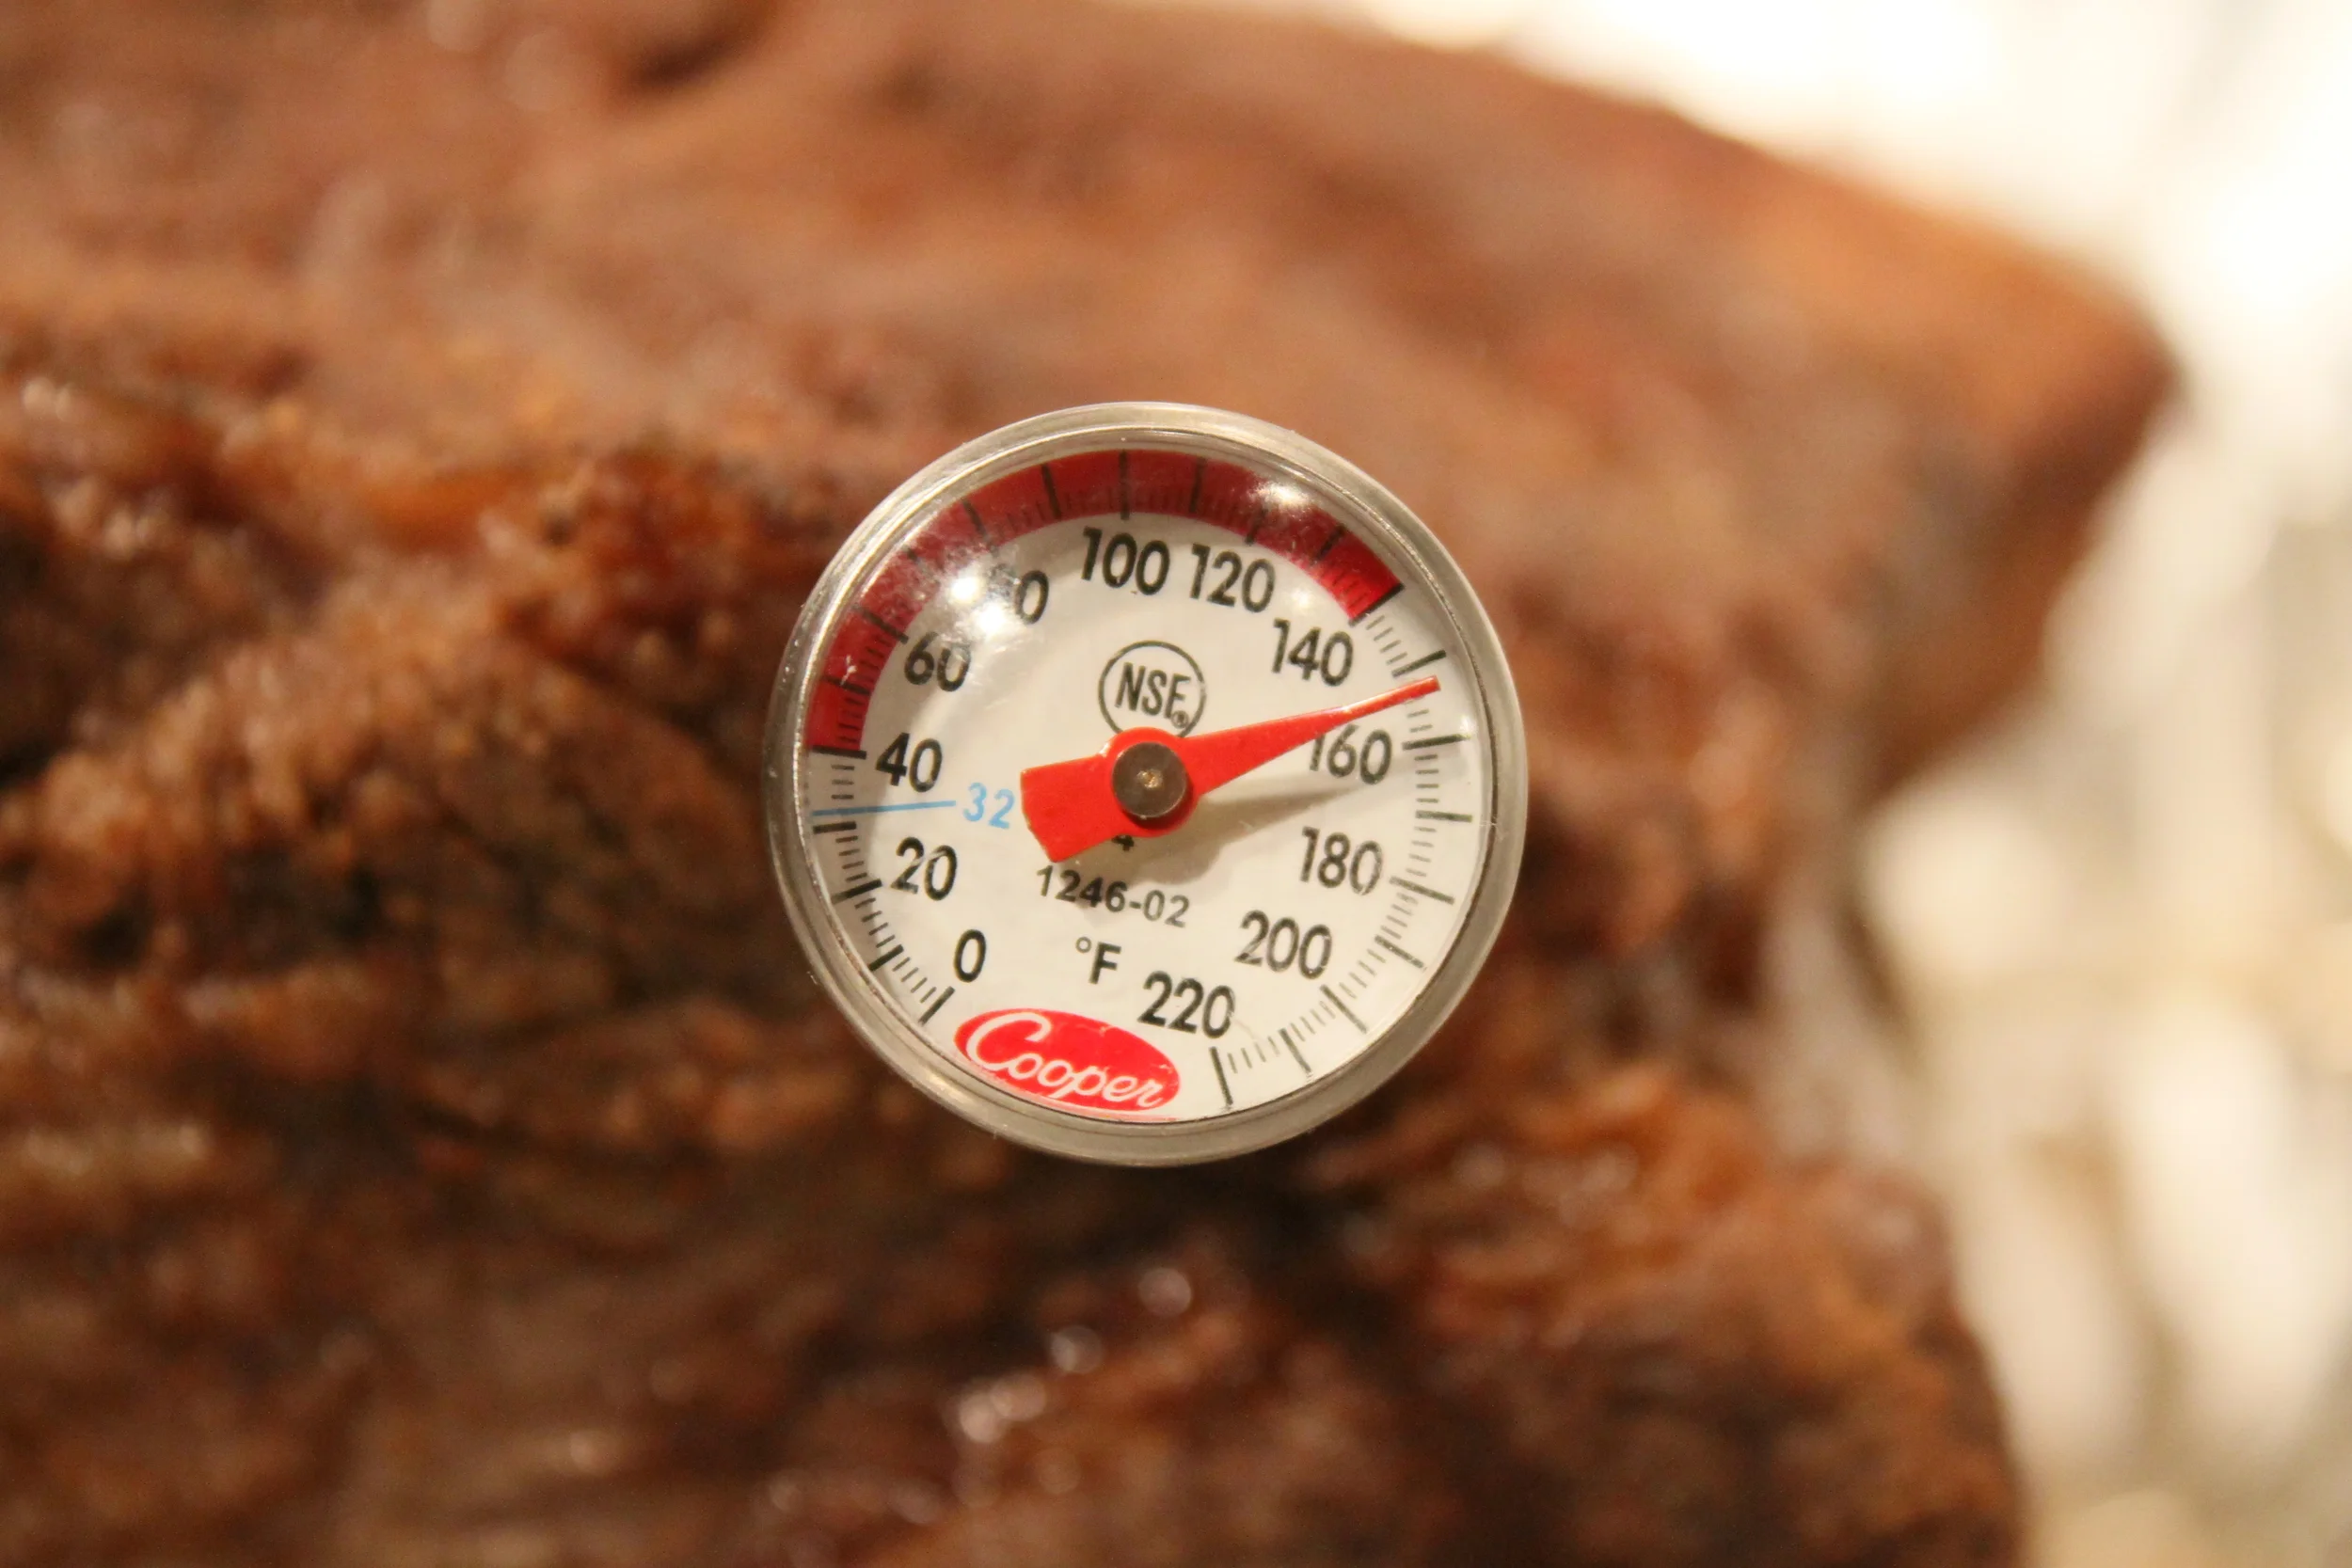
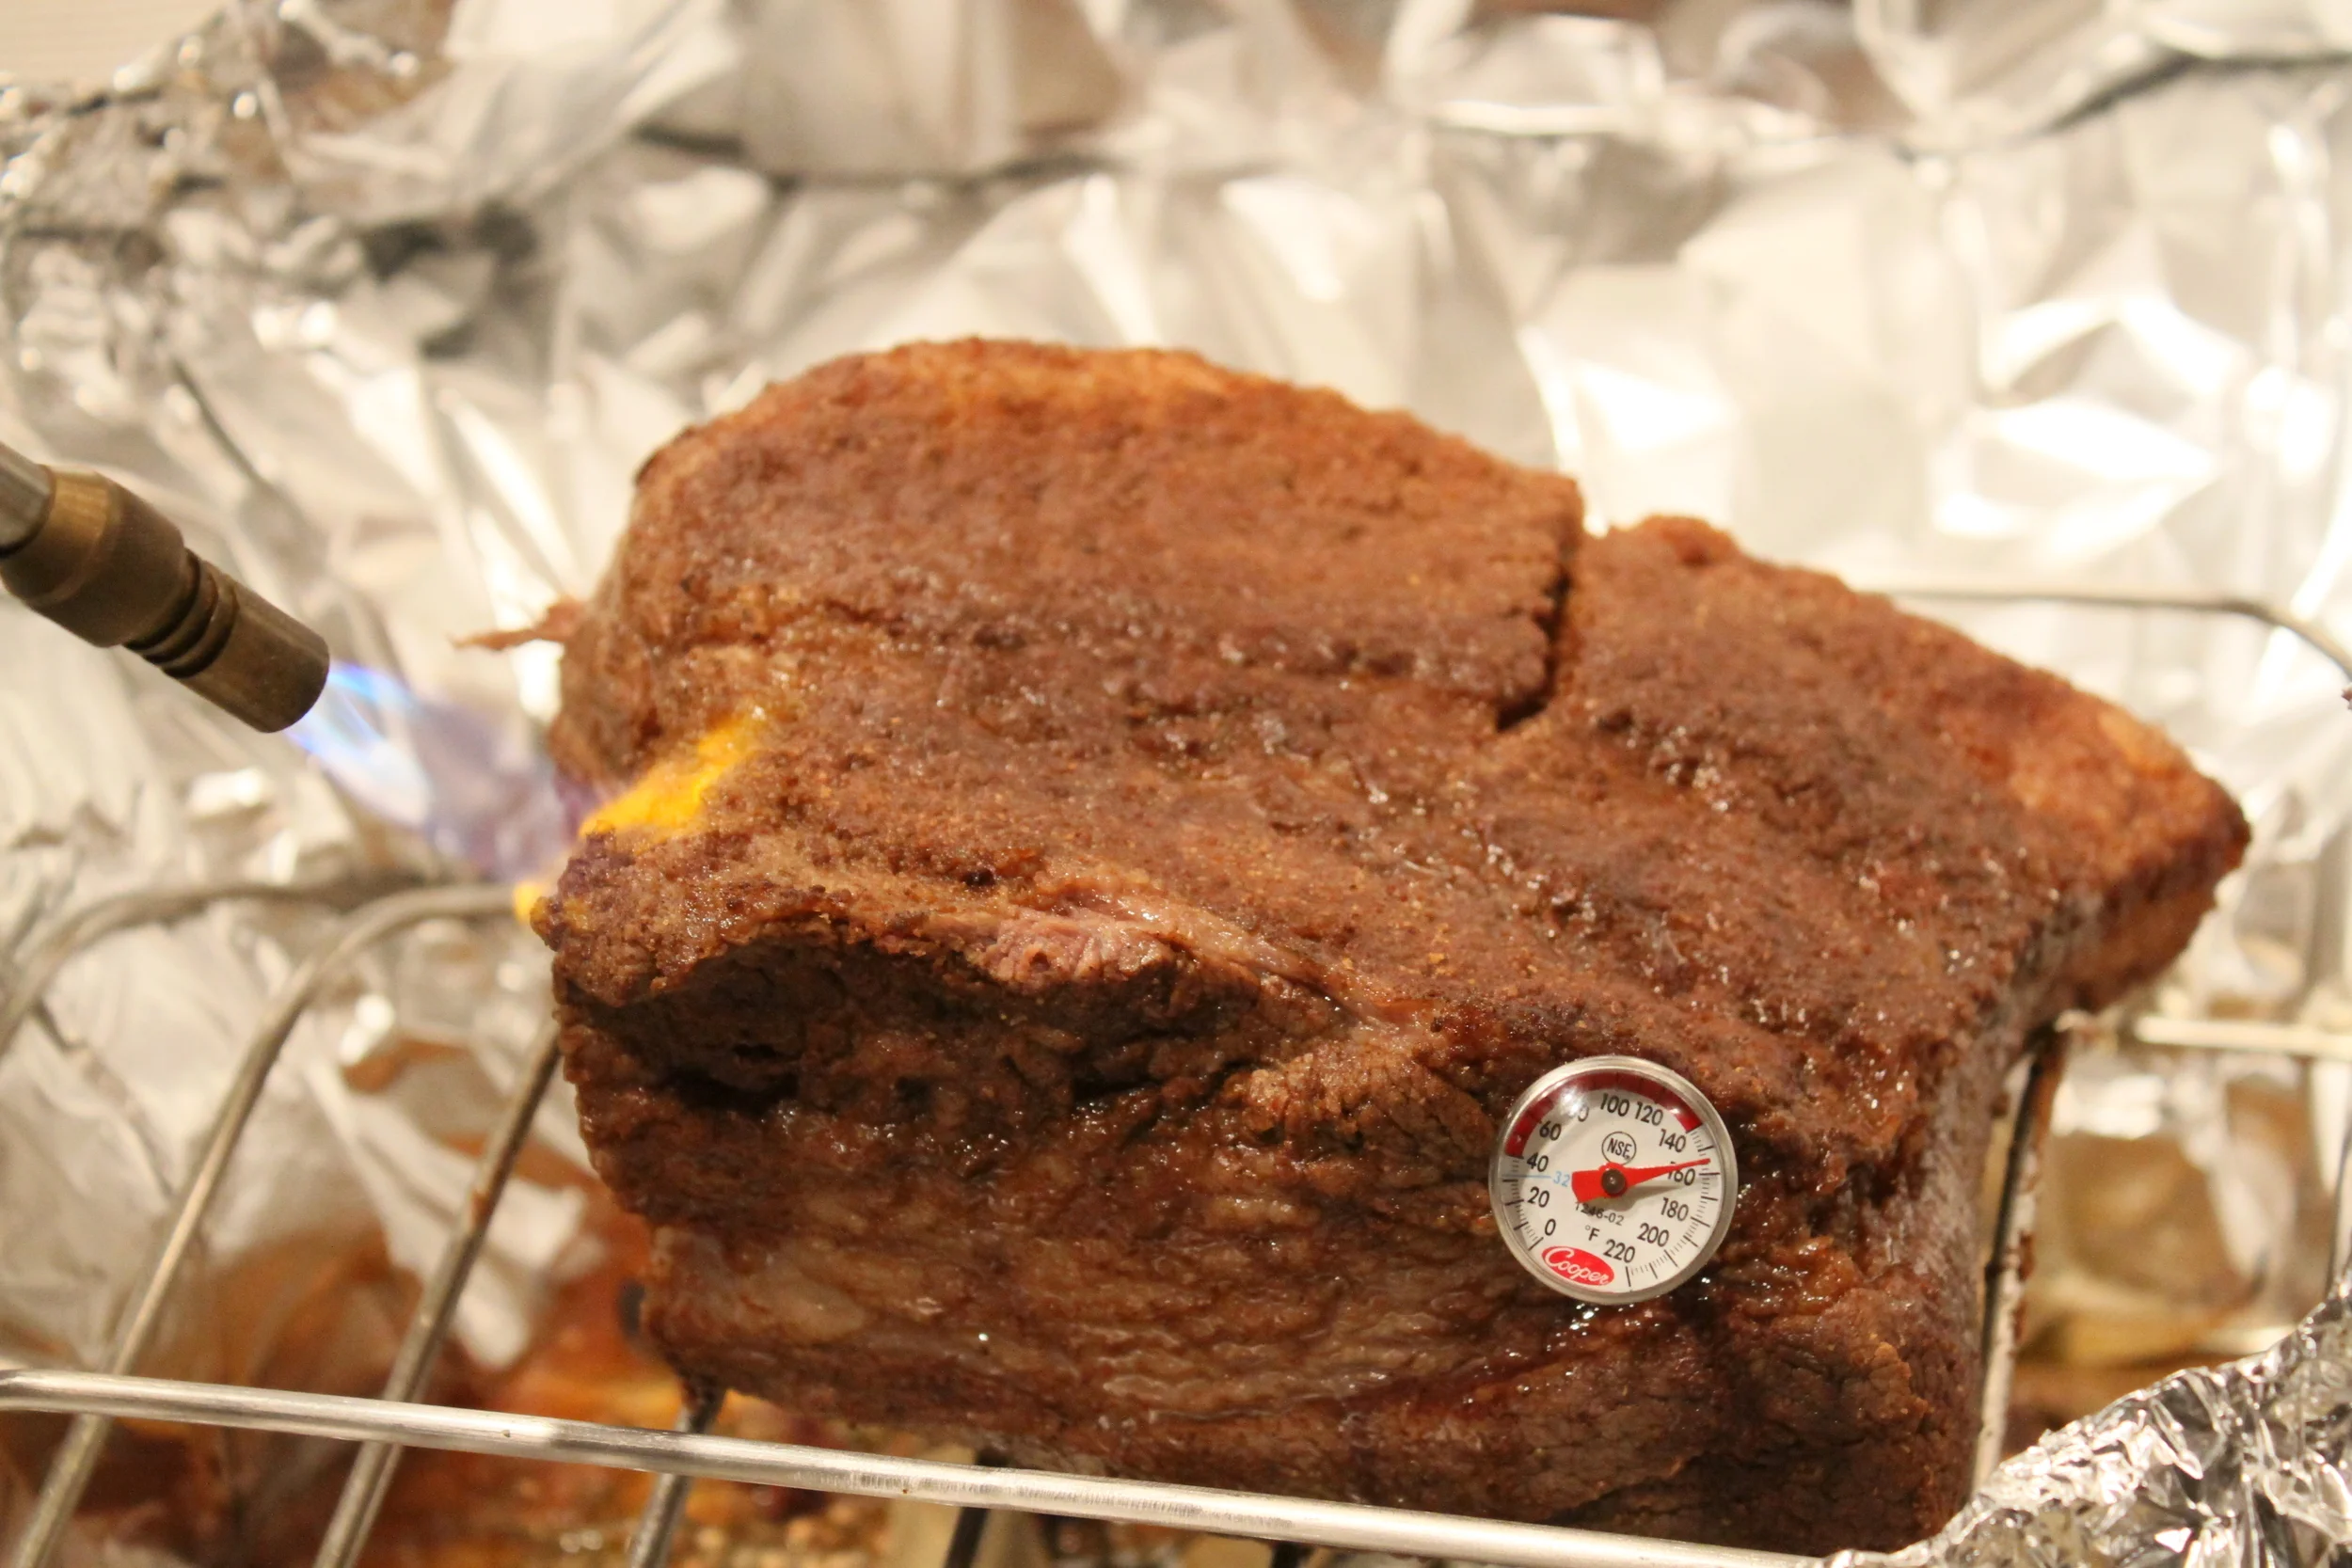
We roasted our pastrami at 275 for about five hours until the temperature of the meat reached 160. We checked on it every 45 minutes or so, adding water and checking the temperature of the meat.
To get that nice pastrami crust, you'll need your trusty MAP torch. Gently but evenly torch the exterior of your brisket.
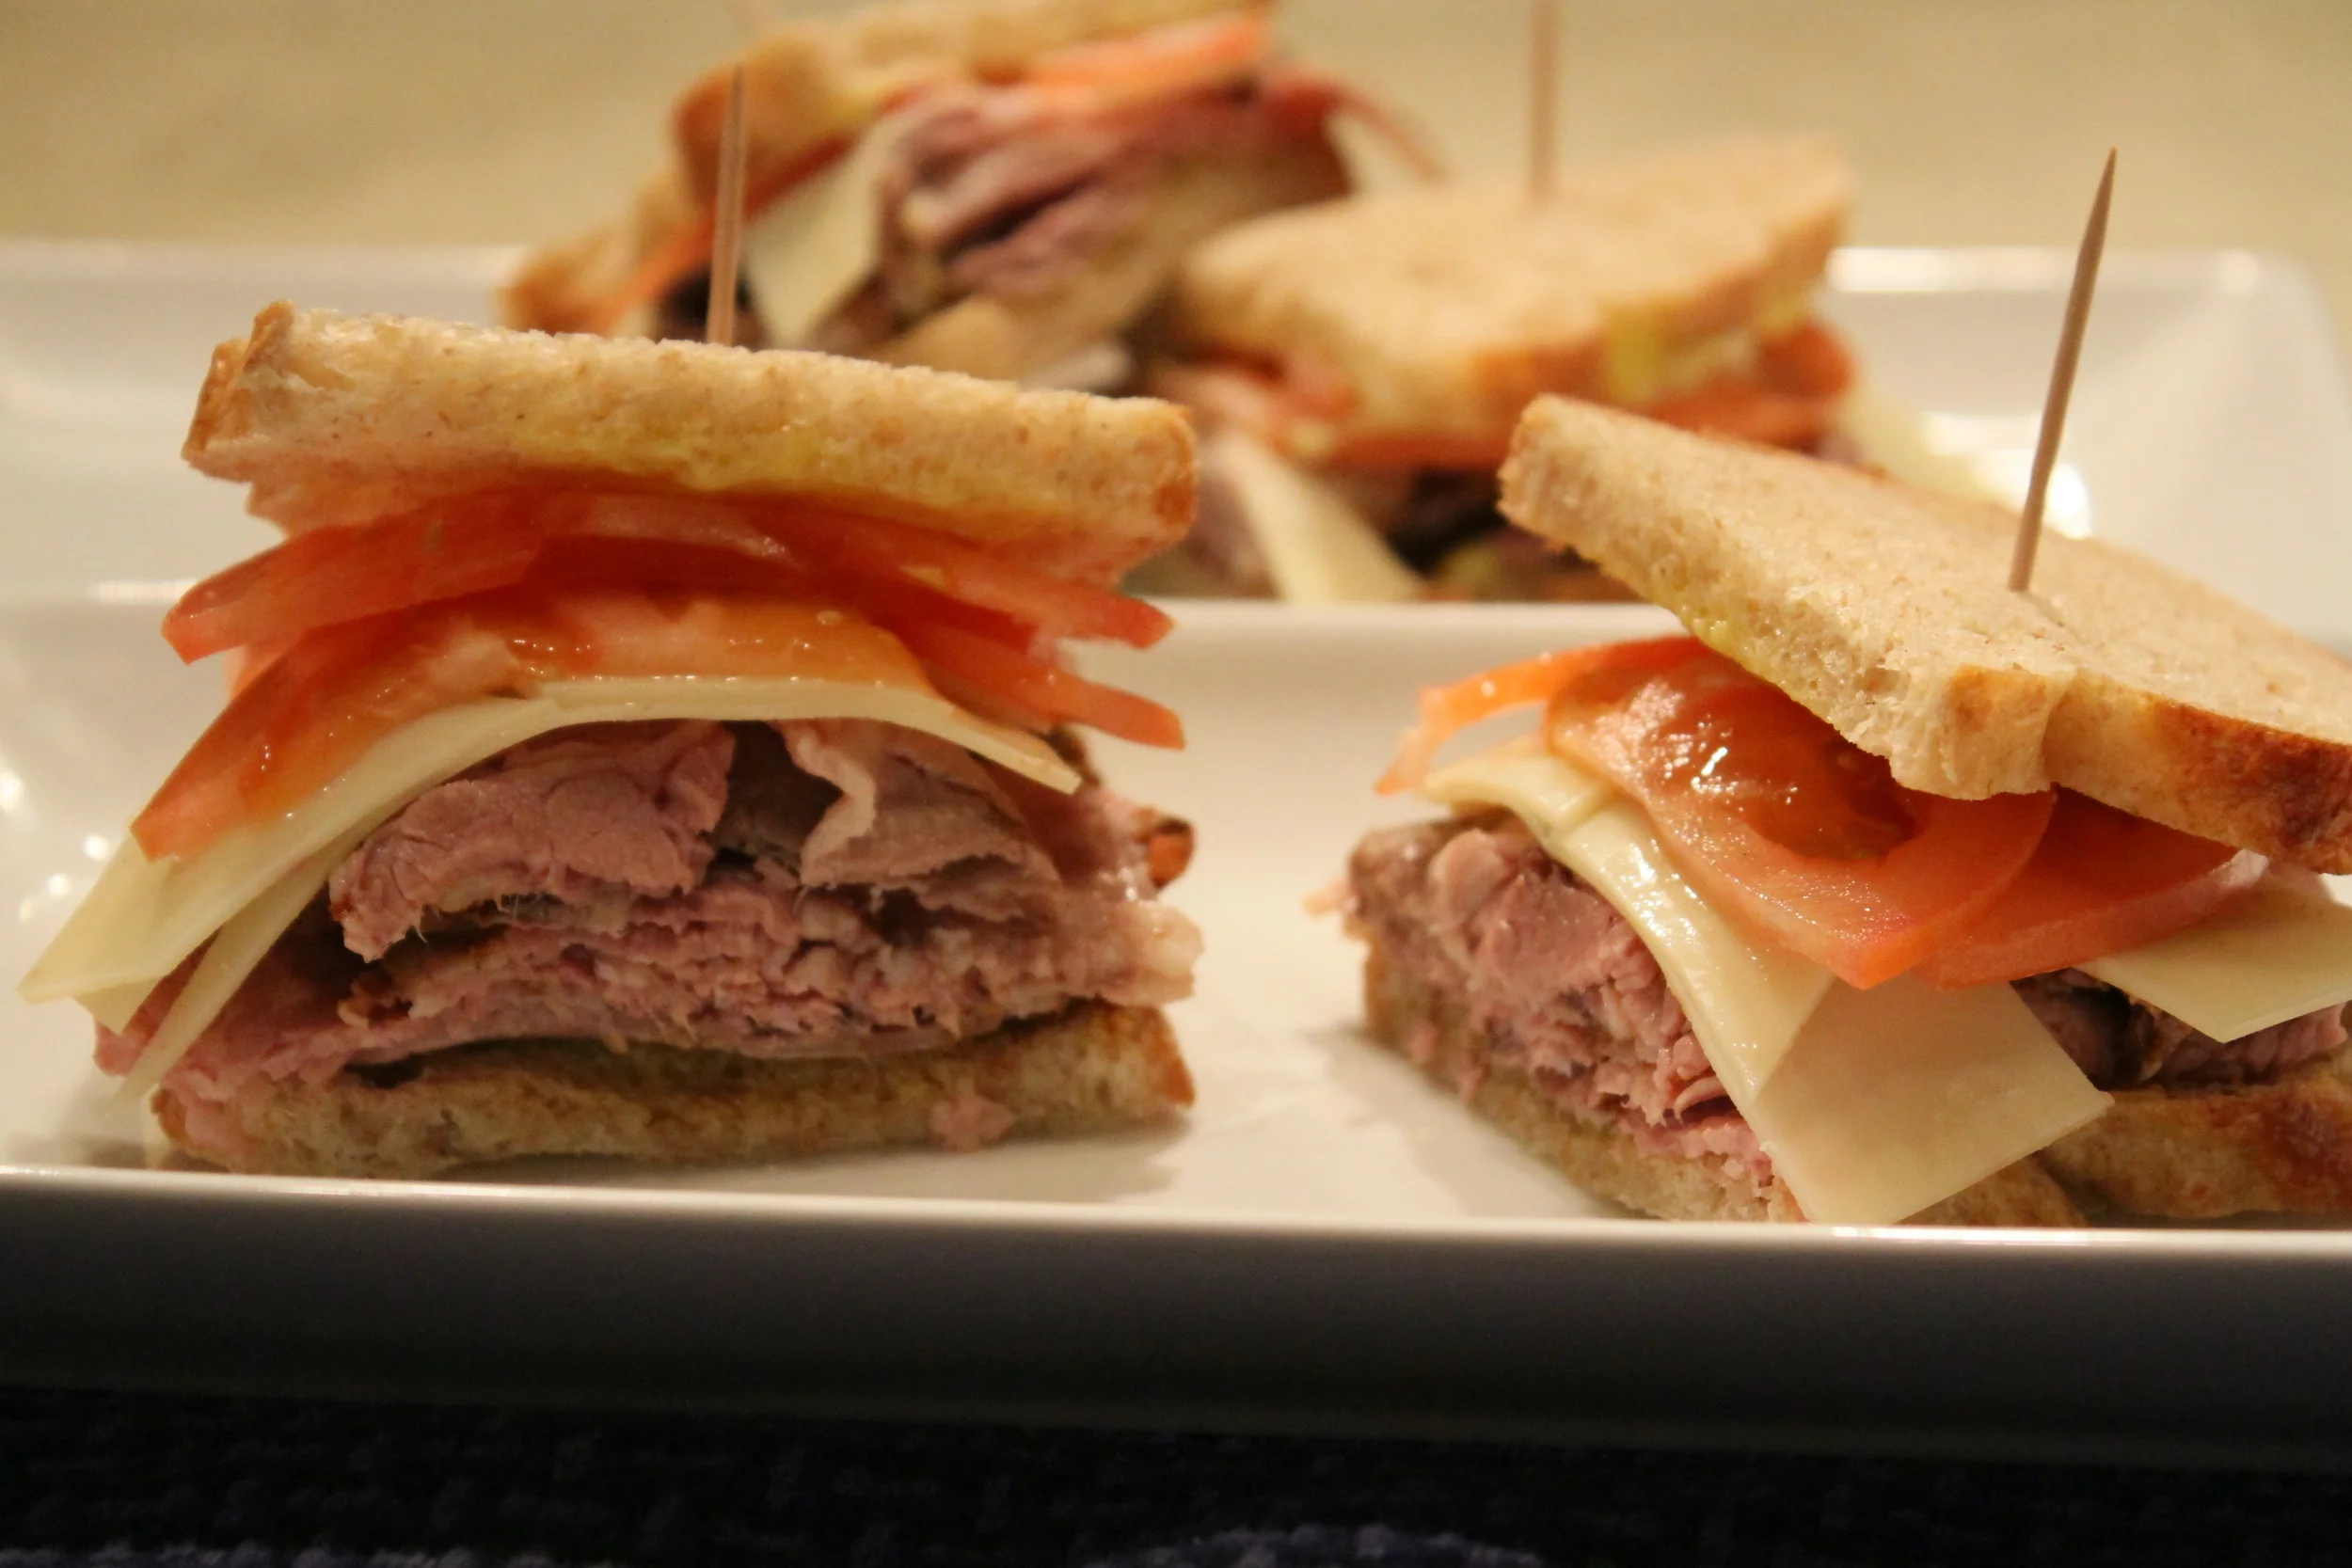
We got a tender, flavorful roast. Something to keep in mind is that the temperature of the meat and the time it spends at that temperature will help the connective tissue in the meat break down, improving the tenderness of the finished product. overall, though, this was fairly easy to accomplish at home, and the results are incredibly good.